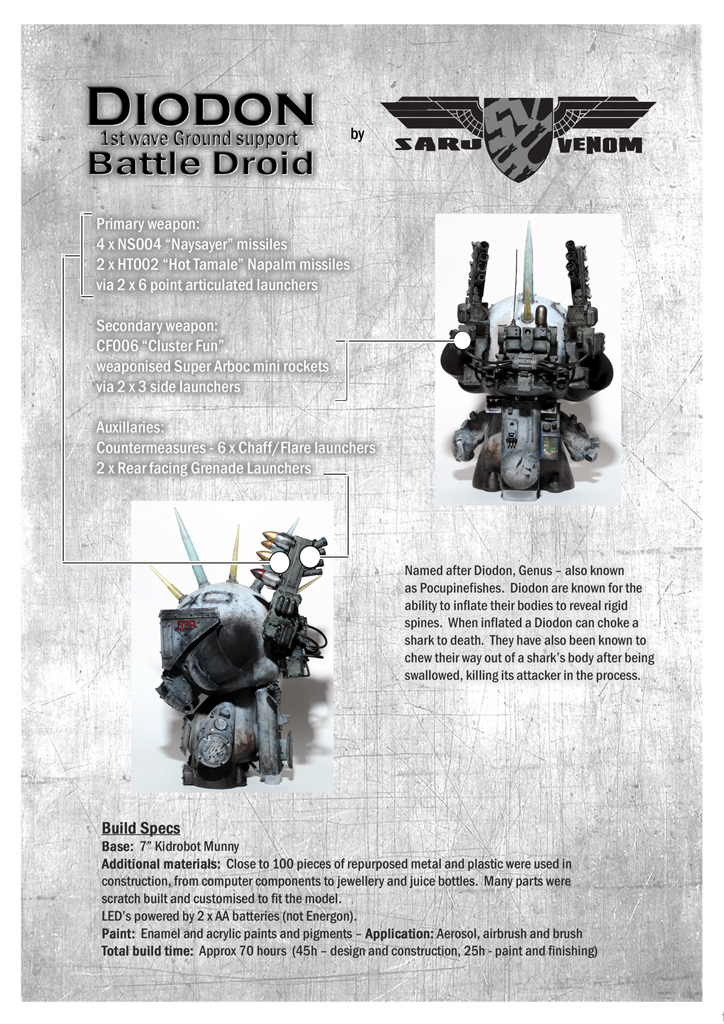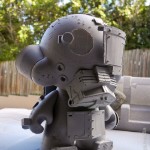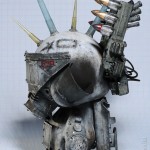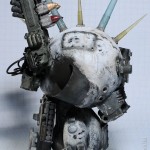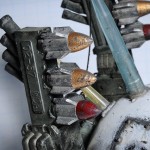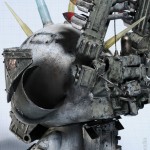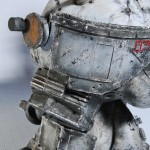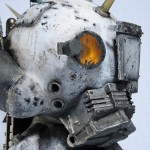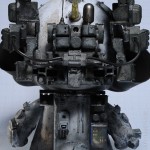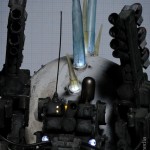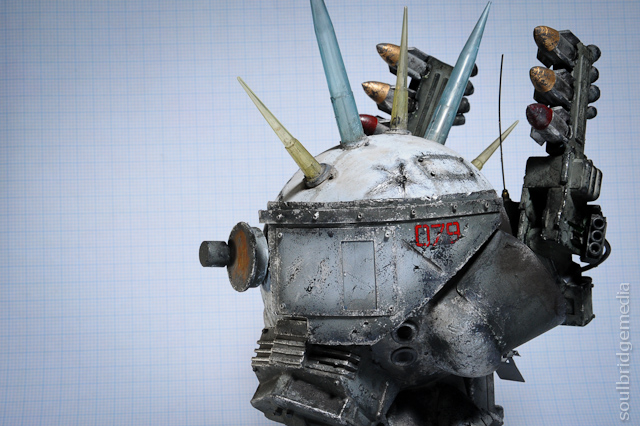
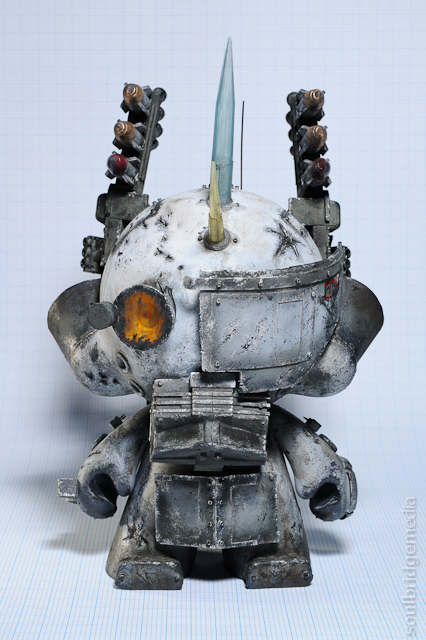
So where was I the last couple weeks? Why, getting head spins from paint and glue fumes of course!
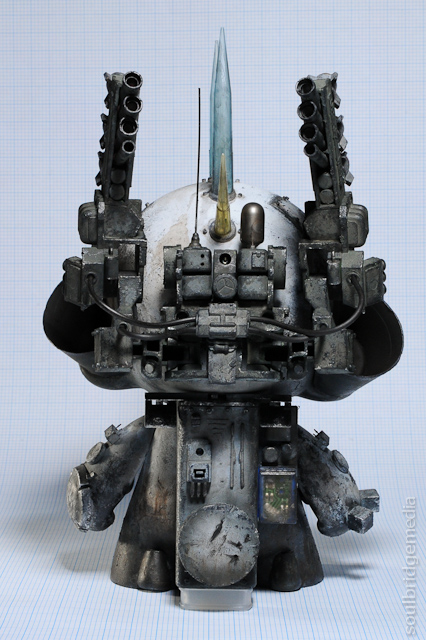
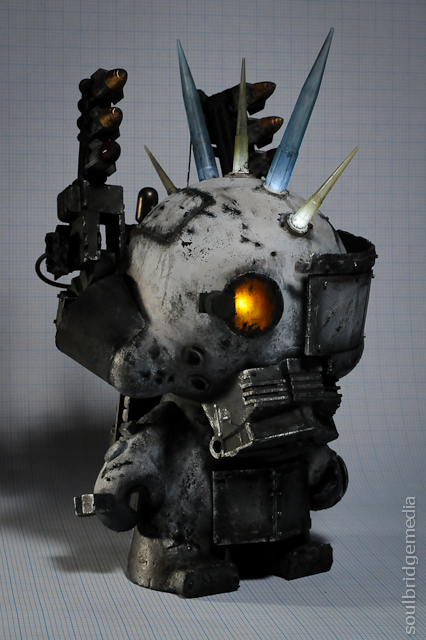
Some of you may know I also moonlight under the Saru Venom/James Saru monikers for my creative projects, in this case it was for the Laced Munny customising competition held in conjunction annually with the Kidrobot Dunny release. With top notch entries in previous years I really had my work cut out for me, not to mention one of the biggest hurdles of just getting it started (unlike previous years!). So I decided to go all out and create the Diodon Battle Droid based loosely on Robotech Mech Warriors and incorporating some freshly learned painting techniques thanks to a resurging love for model kit building. Also threw some LED’s at it for good measure 😉
The competition itself had really taken off this year with 39 entries from some talented artists but the hard work paid off as I took home 1st place in the competition! 😀
Special thanks to Laced and their sponsors for hosting another great event, now how to follow it up next year??
Check the spec sheet for build information and the detailed photos below.
Boreen Point 14/10/11
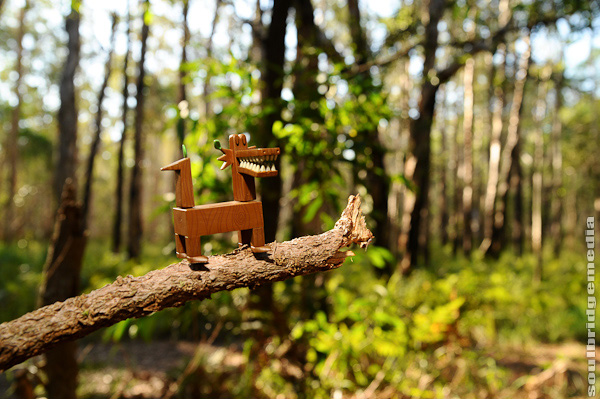
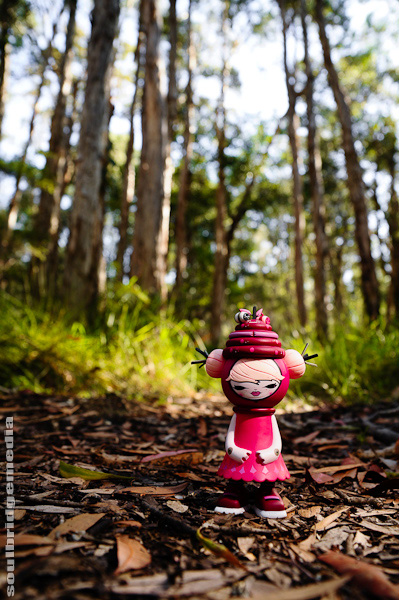
It had been a good 10 years or more since I last pitched a tent (oh grow up :p ) but the call of the wild and associated tech gear finally took its hold so an excursion to the scenic Lake Cootharaba town of Boreen Point was on the cards. Thundery storms were predicted for the whole weekend but as luck would have it, we only got a shower around 5am the second morning, though that was enough to ruin any chance of snapping some sunrise shots. Never the less, fun was had on the beach and lake and with a couple of my inanimate friends 😉

More photos here
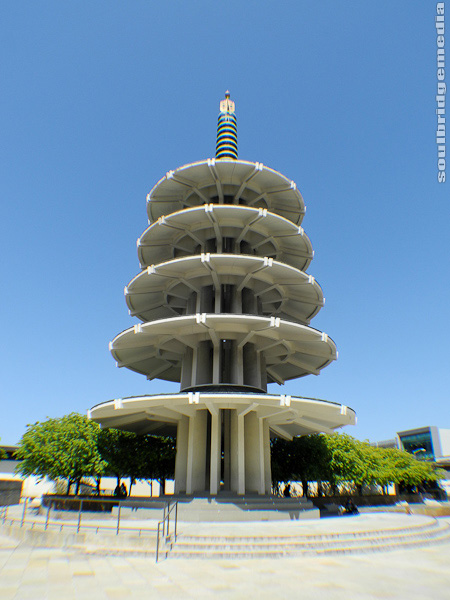
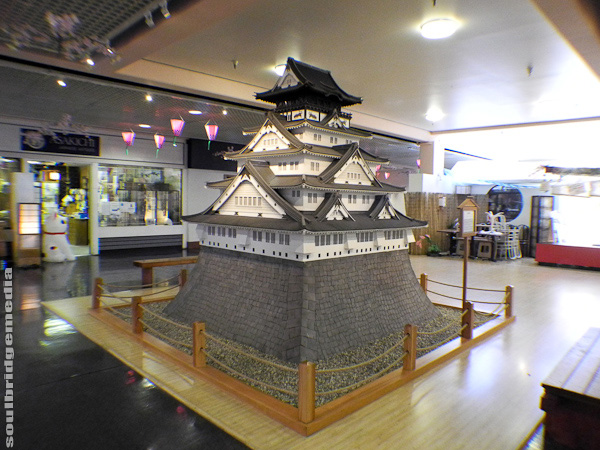
Japantown - Peace Pagoda
Japantown is a short bus ride from from Union Square, catching just about any bus on Geary St. will get you there. Arriving earlier in the morning will give you free run of the place, even though it didn’t seem to get very busy. The “town” is based around a couple shopping centers sharing the Peace Plaza, an open area with the unmissable Peace Pagoda. Surrounding blocks house smaller businesses mostly restaurants and eateries, but having just had a big breakfast there was only one thing on our minds… TOYS!
It is definitely one of the best spots in SF for anime and collectible vinyl figures, I will just list the major ones but in general, the place isn’t -that- big and can easily done in a couple hours of slow browsing.
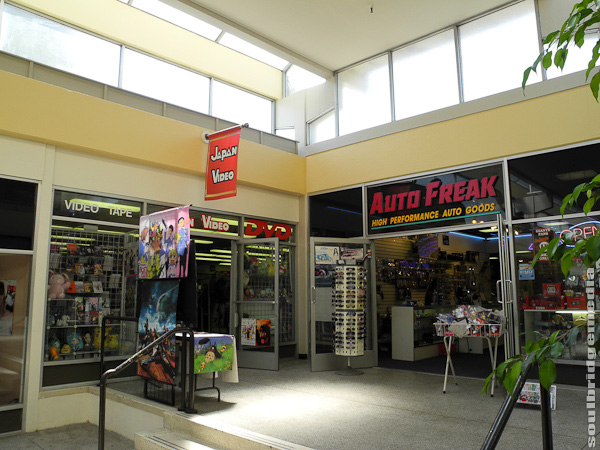
Japan Video and Auto Freak
Japan Video – as the name suggests, lots of dvd movies and animated series, plenty of JDM stuff for sale and rental. Small selection of toys but a healthy range of plush items.
Auto Freak – if you need to “Asian” up your car or if you want it to look like an EKKA showbag exploded on/in it then look no further this is the place with all manner of novelty knick knacks to do just that. Pedals, gauges, neon, covers, stickers, air fresheners, tissue box covers… you get the idea. They also have a range of die cast model cars and sponsored and novelty race/drift inspired shirts.
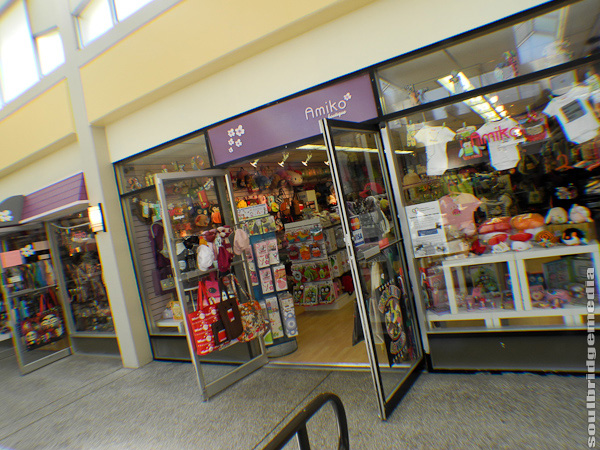
Amiko
Amiko – complete cuteness overload in this store with a fair portion of it dedicated to child and baby wear. Small range of men’s tees but the rest is all girls or kids. A few plushes but focus more on practical items based on popular characters like Hello Kitty, Doraemon, Domo-Kun etc.
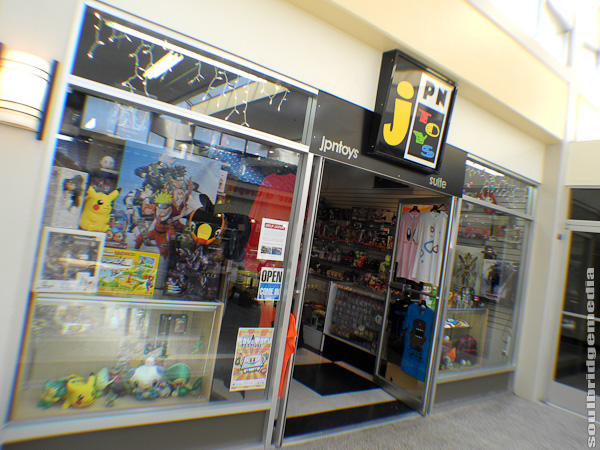
JPNToys
JPNToys – much more along the lines of a traditional collector toys store with all the staples – blind boxes, vinyl figures, action figures (Revoltech, Figma, Transformers), plushes and plenty of themed tee’s. Prices were pretty average, but there was a small clearance section and selected items on sale so resistance was futile when it came to a Gloomy bear wall clock for $18US.
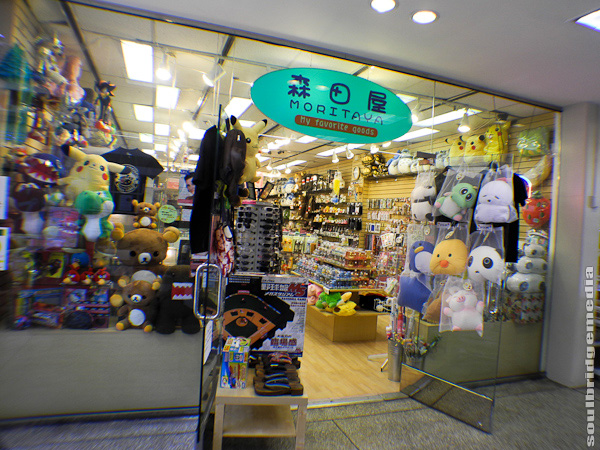
Moritaya
Moritaya – another explosion of plush with extra Rilakkuma and Pickachu and adaption of these characters to accessories like pens and keychains and household items. They also stock a selection of imported make up.
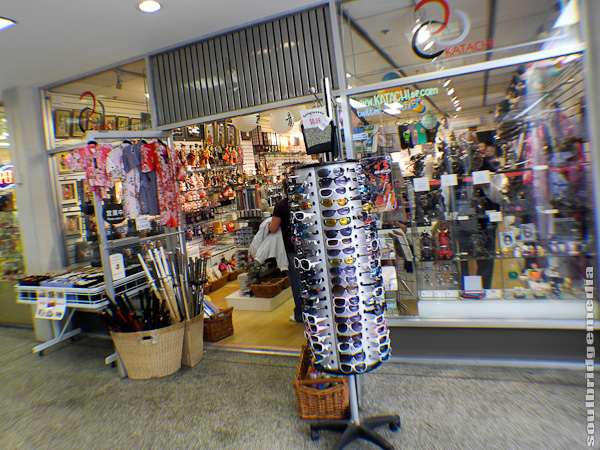
Katachi
Katachi – this store had a lot of different bits and pieces but focused mainly on Japanese ornaments and souvenirs in the way of Kimono wearing dolls, framed artwork, lanterns and replica and full sized Samurai swords. There’s also a good selection of chef knives and pocket/hunting knives. This was also one of the few places we saw in SF that stocked Toki Doki shirts.
Kinokuniya bookstore – is huge. Not just Japanese/Asian related either, there’s plenty of quirky arts and craft and cooking books. Downstairs has Manga galore, a huge range and more than likely the ability to chase after selected titles/issues for you. Ample stationary and a small selection of toys and clothing as well. The website is just as extensive with many country specific variations, Australia included.
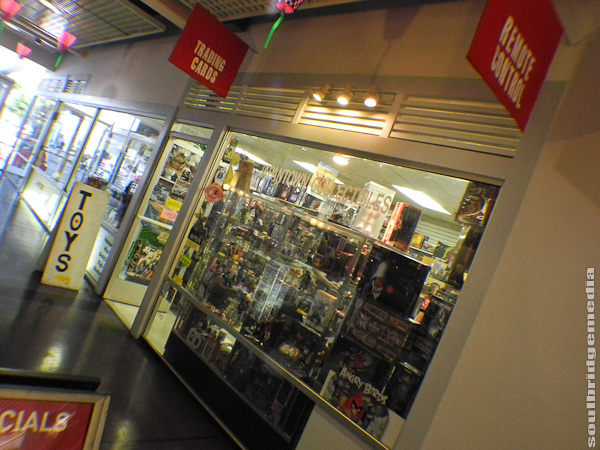
Japantown Collectibles
Japantown Collectibles – definitely saving the best for last with this one, easily my fave store in SF. It’s an unfortunately small store crammed wall to wall, floor to ceiling with figures, models and collectibles. With the hoarding style of display it was both exciting to be hunting round for treasure and frustrating that a lot you couldn’t get to and while helpful, asking the staff every time you wanted a price or closer inspection got tiring rather quickly. Never the less the range of model car kits was enough for me to not walk out empty handed, sadly most items went begging due to the size of their packaging and the dwindling size of my luggage space!
Next up, we head to THE bighouse, the Rock… Alcatraz.
Milpitas 2011 – Great Mall
Yosemite 2011 part #1 – LA to Oakhurst via Bakersfield
Yosemite 2011 part #2 – Yosemite National Park
San Francisco 2011 part #1 – Arrival
San Francisco 2011 part #2 – Shopping – Haight, Downtown SF
San Francisco 2011 part #3 – Chinatown
San Francisco 2011 part #4 – Japantown
San Francisco 2011 part #5 – Alcatraz
San Francisco 2011 part #6 – Fisherman’s wharf, Golden Gate Bridge
Complete Yosemite 2011 photo gallery here
Complete San Francisco 2011 photo gallery here
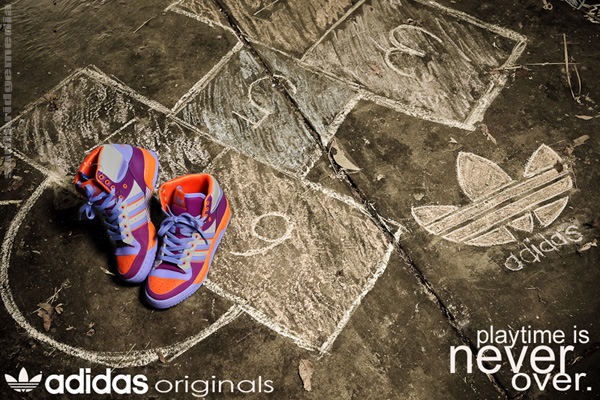
Adidas Attitude High – Mock Ad
Gotta love the Attitudes series with their vibrant “those colours should not go together but some how it works” colour schemes and their chubby stature.
A lazy weekend and a bucket of chalk = another one of my fictitious campaigns
Sylar versus Hasegawa
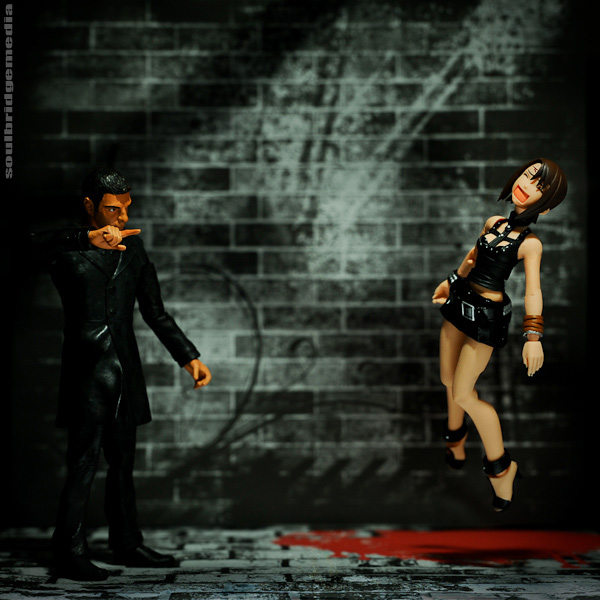
Sylar wastes no time in trying to find out what makes girls dress like tarts (not that there’s anything wrong with that 😉 )
Tokyo part #6 – Akihabara
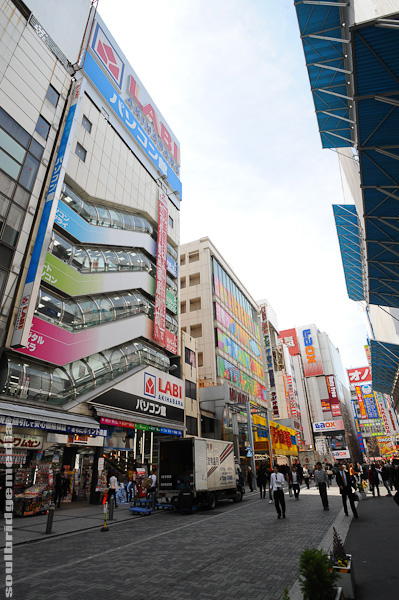
Akihabara, Tokyo
No trip to Japan would be complete without a (rather big) glimpse of what makes the country tick… and whirl, and buzz. Electronics! And there’s no better place to get your geek on than Tokyo’s CPU, Akihabara aka Akiba aka Electric town. Just picture Jaycar or Dick Smith times a million and you’re getting close. Any kind of premade electronic product EVER from radios, to game consoles, to cameras and computers to the components used to make them, replacement parts, capacitors, inductors, circuitry, you name it, if its powered by electricity, you’ll find it here… somewhere.
The station is only about 1km from Ueno, so it’s an easy walk or a couple minute train ride.
The first obvious places are the larger stores as you walk out of the station’s west exit (follow the signs to “Electric town”) being the multiple LAOX and Sofmap stores. These have an army of staff which are helpful and speak quite good English (some stores even have Caucasian staff) and also have duty free. They have similar style layouts, with a level dedicated to a certain type of product eg. Cameras, computers, watches, home goods etc. and a big index sign on the ground level will help you save precious shopping minutes 😉
While you will more than likely find what you’re looking for in these shops, nothing can prepare you for the onslaught from the mothership on Akiba station’s north east, that being the Akihabara Yodobashi Center.
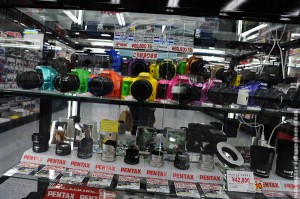
Yodabashi camera store, Akihabara, Tokyo
Eleven floors of every model of every colour of every electronic item release in the last 5years (or there abouts). They even have sporting goods, toys and a floor of restaurants. I’d say its like Harvey Normal times 1000 but Yodobashi actually has good service and good prices (yea, I went there). Speaking of prices, while they are very competitive to the local AU market, they’re very similar to online (overseas) prices so you may want to save yourself some import fees when coming back through customs by not going all out on big ticket items. In saying that, being able to handle and eyeball similar products for a hands on, real life comparison, is indispensable.
After we surfaced from a sea of electric razors and toothbrushes, we headed to Super Potato (I know, right!). They specialise in retro gaming. Forget about your wifi enabled, pizza ordering, “I’m in a rap video” gaming consoles, its back to the roots with the 3 commandments. Shooting, driving, and jumping and maybe even all three! So basically anything prior to the Playstation 1, wall to floor to ceiling of games and consoles. Since very few cartridge games were reissued, they’re mostly all originals but are all still in good to mint condition.
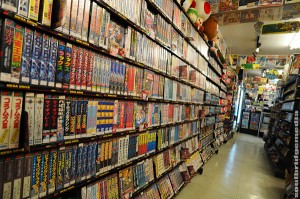
Super Potato, Akihabara,Tokyo
Atari, Nintendo, Mega Drive, Master System to the ill fated Saturn, Dreamcast and Game Cube are all covered as well as plenty of domestic market releases that never saw the light on the world stage and a bunch of quirky little handheld games and mini consoles. Just remember when buying any mains powered devices from overseas, that it will work on your local voltage supply, if not you will need to purchase a separate power transformer. Anything powered by batteries is fine since DC current is universal.
Back out on the main drag amongst the cosplay girls handing out flyers, you’ll see more “Pichinko” (or “Taito”), no not something Elliot from Scrubs would say, but gaming houses filled with slot machines. Half a block away you’ll hear the deafening wave of bells and whistles as the automatic doors open and close. There are also plenty of gaming places dedicated to claw machines, but these are the same the world over. Only enough tension in the claw to give the prize the gentlest nudge of hope so you continue to funnel in your coins. You seriously have more hope getting a prize from a wishing well, so you’re better off just buying one from a toy store.
What’s that? Toy store? You thought I forgot didn’t you? Not at all! A couple blocks north of the station is another Mandarake store. Multiple levels include buying on the ground floor for those with a bit of buyers’ remorse, cosplay and 2 levels of figures and collectibles. They also have items for the die hard fans, like the actual helmets used in filming Power Rangers and uniforms from local productions.
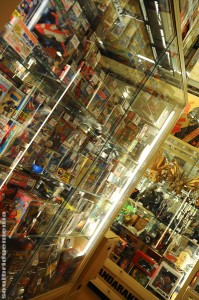
Mandarake, Akihabara, Tokyo
Over near Yodobashi there is another large toy store called Animate. Unfortunately during another “can’t see the forest for the trees” slash “damn you google maps” moment we couldn’t find it but later discovered it in the background of one of our photos! Anyway, what you need to do is get to this store on a Sunday, when they close off a lane and its filled with performers and cosplayers.
Finally if you’re having withdrawals from sneakers or music, there’s still a few ABC Marts and a Music Vox to appease that hunger, otherwise its Gashapon time!
About 2 blocks north of Mandarake off the main street in a small side lane is a dirty yellow signed store that houses a ground floor of Gashapon and 2 upper levels of toys, figures and collectibles. What is Gashapon? You’ll know them as the gumball style machines at the exit of supermarkets that you nagged your mum for change so you could get a toy in a capsule when you were little. The difference here is the toys aren’t a poorly moulded ring, necklace or keyring, they’re highly detailed and painted quality pvc items. Best thing of all, you no longer need to nag your mum, you can buy as many as you want!
Choose anything from your favourite shows/games like Mario, Star Wars and anime characters to the weird and wonderful of light up poo keyrings, telescopic cat paw pointing wands, tote bags, countless mobile phone trinkets and for the (not so) mature crowd, the X rated figures in various states of undress and positions that will have even Paris Hilton taking notes.
The majority of Gashapon cost between 100-500Y, with dedicated stores like this one having a change machine and recycle bin for used capsules. Depending on how many you buy, it’s a good idea to bin the capsules to save luggage space.
FYI, “Gashapon” refers to “Gasha” as in the crank machine that holds the toys and “pon” the sound the capsule makes when it drops. A lot easier to say than click tic tic tac click tacka!
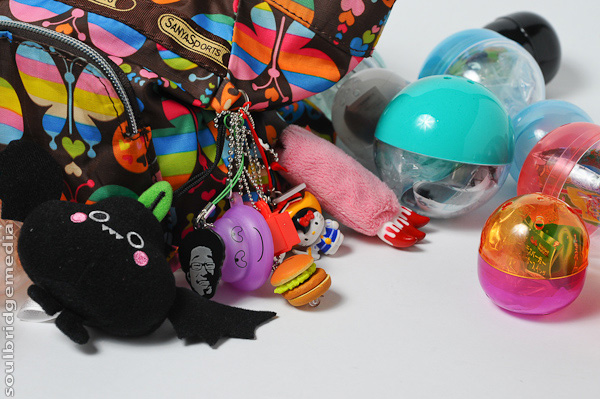
Gashapon
Tokyo part #1 – Ueno for a day
Tokyo part #2 – Getting round Tokyo, Ueno Sakura at night
Tokyo part #3 – Harajuku
Tokyo part #4 – Shibuya
Tokyo part #5 – Kichijoji and Shinjuku
Tokyo part #7 – Odaiba and Leaving Tokyo
Photo Gallery Here
Customising your own Kid Burner
Ok so you want to build an army of custom minions to do your bidding or perhaps the Rsvp’s to your tea parties look a little thin? Then its time to get your Martha Stewart on.
If you’re thinking “Ay? What’s this all about?” then you need to have a quick read of this. For those up to speed, continue reading.
These are the steps to create a simple decoupage’d custom
-
Step 1.
You’ll need a few supplies
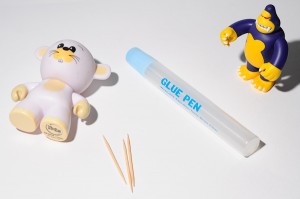
Ask for help if you need to, just dont ask Ken. He has minimal articulation 😉
1.a) Hey doll! – Nooks knock off toy. These are available from Cardiology. As these are privately run franchises, stocks vary between stores. I have been getting mine from the Garden City store (Mt Gravatt, Brisbane) as the city store doesn’t stock them. Call ahead to save yourself a trip. They’re $10ea. If you’re planning on doing a few of them, ask for the loyalty card, buy 10 get one free. (unfortunately I only found out about it after I had already bought 10!)
b) Choosing your Nook. There’s quite a variety of different shapes and colours (you can get an idea from their site), so choose one to match your mental blueprints. Depending on the colour of paper, you may want to choose one that matches or best compliments the colour you’re working with. If you’re after predominately white or black characters, the mouse and the skeleton respectively are the way to go.
2. Get the – Paper. The sky is the limit for this. You can use anything from newspaper to wrapping paper to butcher’s paper. Have a look round the house or pop down to your craft/discount store. The only thing to remember, it has to be rather absorbent and not too thick so the glue can soak in, which makes it stick better and is a lot easier to work with ie. More pliable around edges and curves. Beware of papers that have a high gloss, super smooth finish or are woven, these can have
a plastic/cellophane content and are really tough to work with. If you’re not sure, you can test your paper by cutting off a small piece adding a drop of water, then seeing if it will mould and stay around the edge of the foot. If it doesn’t stick or hold its shape when you crease or fold it then you might have to choose different paper.
3. Stuck on you – Glue. The cheaper and thinner the better! You’ll need to soak the paper in glue so the thinner it is the more likely it will soak right through. This also gives a light lacquer finish on the final product. I used a simple glue pen. Great for controlled, no mess application and readily available. IGA has them for .92c
4. Ya – Tool. This will be used for applying/spreading glue and selecting, positioning and “working” pieces. I chose a couple good quality round toothpicks. Cheap and plentiful. The point is used to press the paper into creases and joins ie. Around the neck and arms and also to “magnet” pieces so you don’t need to put everything down each time you add a piece. The round edge will help you roll pieces flat, mould them to contours and edges and also to disperse excess glue. You’ll want something that will sit comfortably in your fingers, so find something that suits you, wooden skewers or disposable chopsticks are also options.
5. ob ja dart – Other bits and pieces. The rest are things you should have lying around the house and will just help make your customising a bit easier. Clear working area – little bits of paper + glue = mess in any language. Scissors – for cutting decou bits or for those corners that just don’t crease. Something small to “fence” or contain your decou clippings from exploding everywhere at the first sign of a cough or if you sit down too fast, I use a large roll of sticky tape. Damp cloth – for stray glue bits or if your fingers or tool get sticky. Drying rack – something to sit the little guy on with minimal contact while its drying, I used an up turned flat backed power adapter.
- Step 2
Prepping the toy. If you’re using lighter coloured paper you may need to go over the painted areas of the original toy so they don’t show through. You can give it a quick light coat of ACRYLIC paint in a similar colour or if it’s a predominantly white one, at a pinch you can use “white out” tape.
-
Step 3
Paper prepping. Tear or cut your paper into random shapes and sizes roughly 1-2cm (Note: larger pieces can be harder to work around contours and edges). Torn paper = greater absorption and bonding to other pieces. Works better for random patterns. Cut paper = better for joining/matching up repetitive patterns. To minimise overlaps, joining edges need to be straight. As the space is filled you’ll have to start tailoring the pieces to fit exact spots.
-
Step 4
Decou-ing. I start from the top down. Apply a liberal blob of glue round the top, front and back of the head. Make sure its nice and thick, not too the point its dribbling but enough to wet and soften the paper. Any excess can be wiped or “squeegeed” later. Don’t worry about the glue drying on one side while youre working on another, it takes quite some time to dry by itself (~15-30min). Start with the larger pieces to cover more of the easy areas first. Place a piece on the gluey area then lightly dab it round the edges with your toolpick. When it starts sticking, roll from the center out, just like if you were rolling out a pizza base with a rolling pin. This kneads the paper and helps it absorb the glue and also squeegees the excess glue out. If some parts pop up or don’t make flush contact, add a couple dabs of glue on top of the paper, this will soften the paper
and make it more pliable. Some of the acute angles like on the feet or hands, you may need to soak the piece in glue and let it sit or even add a drop of water to the piece before sticking it to the body.
Stick torn pieces with a little overlap and cut pieces edge on edge to help make a smoother finish. Too much overlap it may end up lumpy, too little and youll have thin/clear spots that you will have to go over with pin head sized pieces.
Once you finish the head and body, you’ll find less dry spaces to hold, so it’s a good idea to do it in parts, allowing the sections to dry in between. I used an upturned power adapter as a cradle to sit its head in so there would be minimal contact and less chance of it falling over while drying. Those of you in countries that only have 2 prong adapters may need to find an alternative. Once dried, go over the completed areas and make sure there are no air bubbles or stray/rough edges. Some can be pressed down with your finger nail while others may need going over again with an extra dollop of glue.
For finer details around the around the neck and arms, you can choose to lock it in a London guard position by decou-ing over the joints or if you want movement you can use a scalpel afterwards.
Take extra care to roll the feet flat, the dolls are nose heavy and topple easily. When its almost dry, find a flat surface and press down hard to make sure they can stand their ground.
-
Step 5
Finishing. Once you’ve finished gluing, give it overnight to dry then check for any gaps or thinner areas in the paper. Touch up accordingly, allow to dry then add your final touches, paint, pen or glue on other features or accessories and you’re done!
Here’s one that i whipped up using the dragon analogue
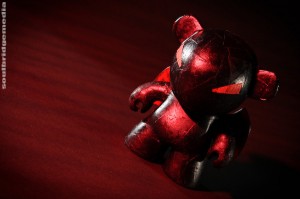
Been busy? Hit us up in the comments with your own custom vinyls!
Roundhouse kicks!
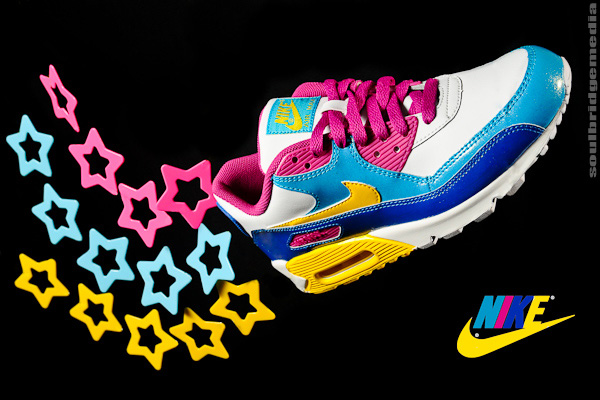
There’s probably only one thing we like more than toys and that’s shoes! It’s like the toys you can wear on your feet! …well kinda. But, gosh darn it, if they don’t make you feel like a million bucks when you slip on a new pair 😀
Here’s just some of our collection. The ones that look like I had 2 seconds to shoot them is because I only had 2 seconds to shoot them! Never stand in the way of a girl and her new kicks!

