
We’re going to start things off a little different this time since this holiday we had a little plus one accompanying us. In this post we’ll share some tips and our experiences travelling to Japan with a toddler.
If you’re considering doing the same then good on you! The first step is recognising a child is an addition to a family not something the family revolves around (even though sometimes it feels like it does!) in turn restricting fun things you would normally do. Secondly, they usually fly for “free” so it’s a no brainer, right?! 😀
Travel tip: Each airline is different, Jetstar’s definition of “free” is thirty-something dollars, not sure what that covers exactly though…
There are plenty of excellent blogs on flying with a toddler so we wont regurgitate it all but here’s a quick run down of what worked for us.
- The Gear:
It really depends where you’re going and what you plan on doing, some people say carrier all the way for hands free-dom while others prefer a leisurely pace and their own shopping trolley with a pram/stroller. Our itinerary covered a lot of ground from shopping mall outlets to flower parks to mountain hikes, cable cars and snow fields so we didn’t take any chances, we took a framed hiking backpack, a cheap umbrella stroller and the ol faithful Ergobaby carrier.
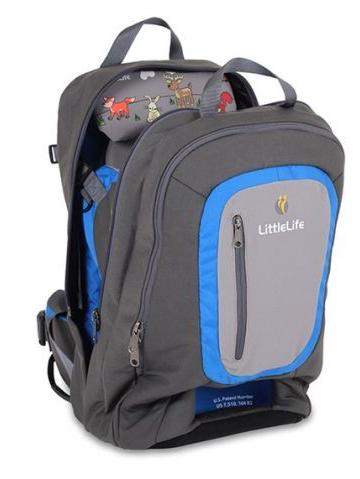
Little Life Ultralight backpack – framed with built in seat
This backpack was on loan (thanks Glenys!) – its very comfortable for the wearer and the kidlet for long periods of time and a nice high viewing position for those curious kids that want to be part of everything. A small drawback however is with the seating position, the child sits slightly further back and can lean back a little as opposed to the full koala hug position of the Ergobaby, more comfort to them but not so much for the wearer. Having the weight positioned a bit further from the center of gravity takes a bit getting used to, but leaning forward quickly becomes second nature. The pack is also small enough for carry on luggage so you can use it to and from the boarding gates.

Dymples Easy Stroller
We looked at several of the cheapies from Kmart, Big W, Target, Toys R Us and online, all were very similar in style, build quality, weight (took the travel scale to confirm 😉 ) and price but Big W’s offering won out as being one of the lightest at just over 4kg, but more so due to it being the only one (at the time of purchasing) that had a small mesh basket area underneath. Yes it was small and almost useless but it was still big enough to stow (re: jam) a couple hoodies, rain ponchos, snacks, extra water and compact tripod. Couple it with a bottle caddy from one of our other prams and it was a perfect workhorse for only $25. We also invested a few bucks and grabbed a carry case off ebay for airline and hotel transits. Not only does it make it easier to carry, it keeps the wheels from getting caught and broken on …well, just about anything and everything during transit (no thanks to the gentle caressing hands of luggage handlers :p ).
The stroller worked well through shopping districts like Harajuku and outlet malls, also spared our backs for times we didn’t want to carry the hiking pack.
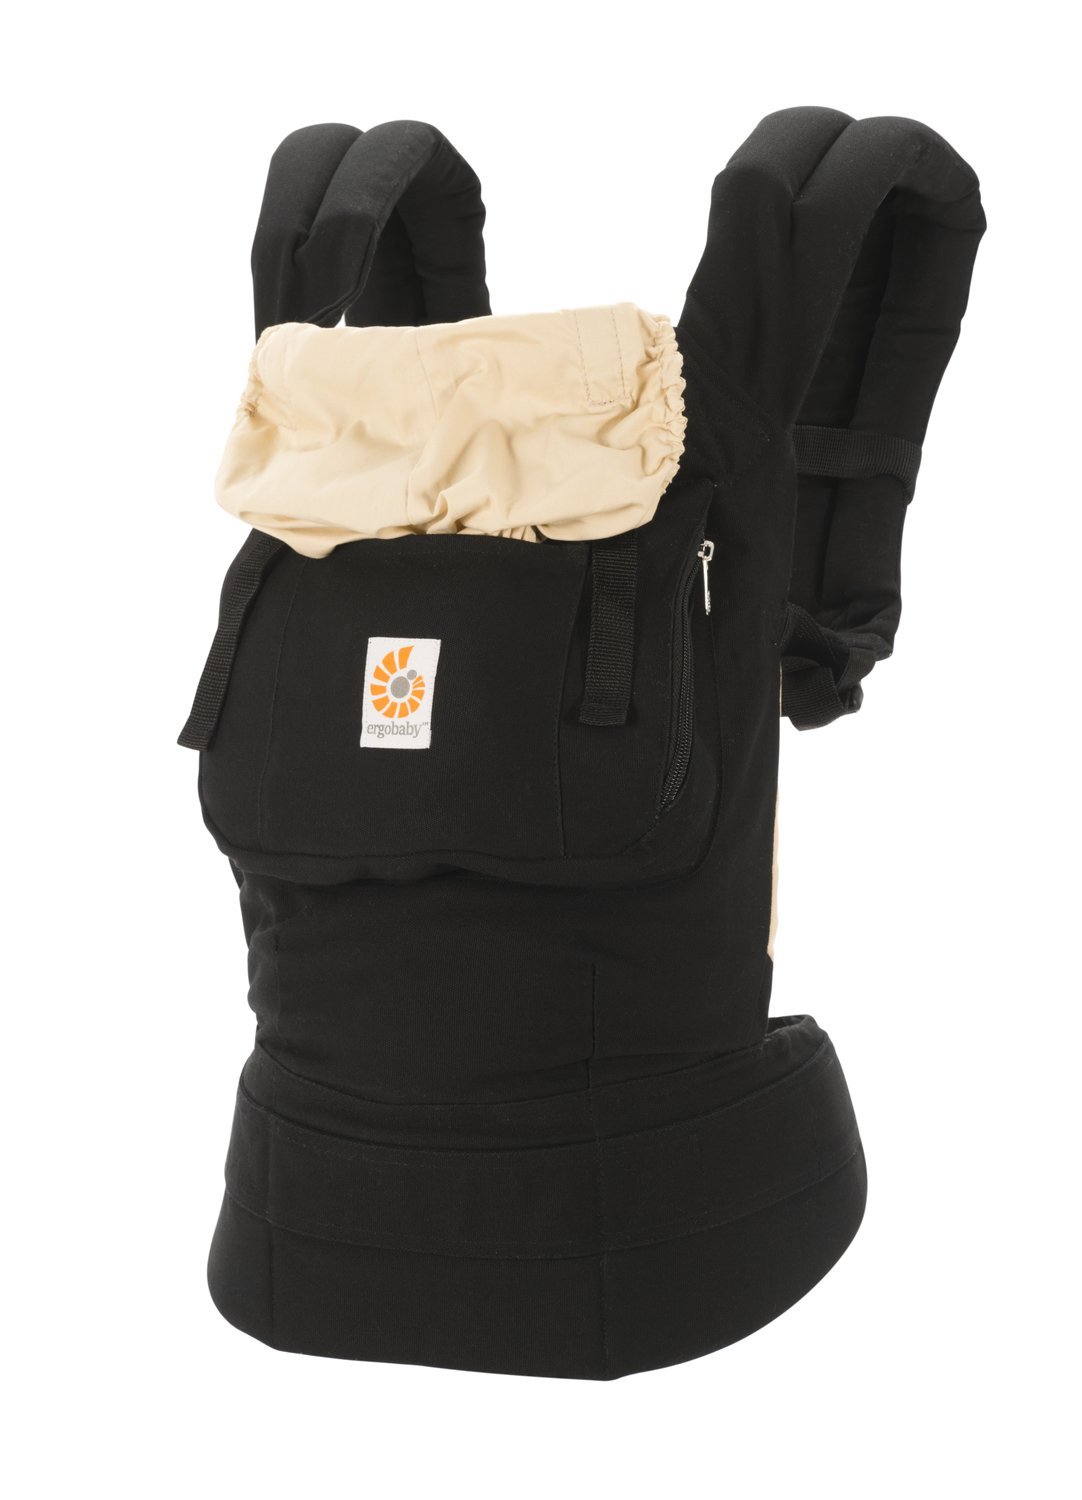
Ergo Baby Carrier
We were beginning to think if buying one of these was really worth it since our kidlet had spent very little time in it but it was perfect for strapping her in to encourage naps during flights, transit and general long days. It was also great for “travel light” days where it could be tucked into a backpack and brought out after she got tired of running around.
Note: you will have to remove baby and the carrier when passing through customs (even if your babe has only just gotten to sleep after struggling for hours! >_< ) The carrier has to go in a tray with your other belongings to be scanned.
- In The Suitcase:
Apart from the usual things, we loaded up on nappies and formula (triple zippy bagged – you don’t want that to pop open in your bag during compression on the flight!). We could have bought both over there but it was much easier to stick with what we knew both for comfort and no allergic reaction. Plus, they both diminished as the trip went on so we could replace that space with holiday loot! We also packed her fave packet meals and snacks for emergency/on the fly (literally) eats and took a separate “go bag” to carry on board essentials instead of having to sift through the carry on while everyone is trying to get to their seats or during the flight. You’re welcome fellow passengers! 😉
- Finding essentials:
Depending on your stay/luggage size you will probably eventually run out of one thing or another, now, if you’ve been doing a bit of research you’ve probably come across reports that its impossible to find baby products especially nappies and formula in Japan, well consider that myth busted. Even though we had our supplies we kept an eye open for places that would sell them and were mostly spoiled by choice in all major cities/stations. There is always a discount pharmacy some where nearby, very similar to Chemist Warehouse where everything is always on sale with bright coloured signs and shelf tickets galore. Most of these places were tax free for tourists as well. So basically only if you go off the beaten track to small towns or stations in residential areas will you have problems finding supplies, but even if you do, just track down a supermarket and itll be just like home.
One thing however, that is hard to find, is regular cow’s milk (and crunchy peanut butter!). Selected big convenience stores might have some but generally only stock some weird stuff that looks like milk but smells and tastes like a combination of soy and Yakult! Using your google text translator wont help you much either as a lot of the time it translates to “milk”. This is where the bags of formula come in handy, unless you’re after some for a tea or coffee then have your hotel or Airbnb host rustle some up for you if you get stuck.
- Sleeping arrangements:
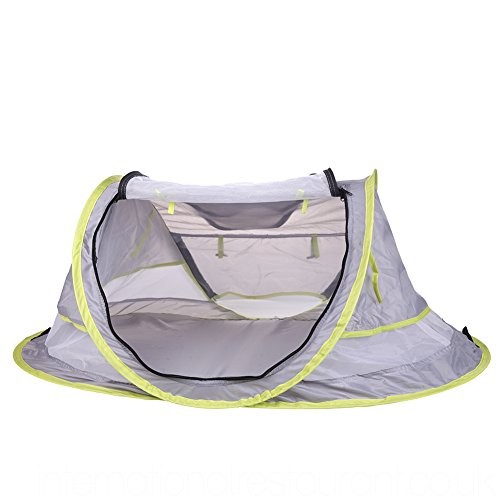
We thought we had it all sorted beforehand, grab a cheap little pop up tent style sleeping bed like this, get the bub used to it at home with day naps with her sleep buddies and away we go! Good in theory but it seems we brought Murphy’s law with us and the first night in a strange place with some chronic jetlag, thanks to 12 hours of transit, equates to one tired and stressed kid that didn’t want a bar of it. It took a couple nights of trial and error to realise all she wanted was a bed to call her own. So it turns out that it was just a matter of sorting a couple extra blankets and pillows as barricades for when she got her roll on and the rest was slumber city.
Another plus, she also worked out that her regular routine was out the window and any time was a good time for a nap for which the carrier and stroller came in very handy. We also encouraged naps on any train ride more than 15min for little refreshes through out the day. All in all, its really no different than travelling anywhere with a child, you have to be flexible, ready to roll with the punches and know when to quit while you’re behind and fight another day.
I think that’s about it, now on with the rest of the trip, first up, Yokohoma!
Japan 2016 part #1 – Travelling with a plus one
Japan 2016 part #2 – Yokohama
Japan 2016 part #3 – Gotemba to Kawaguchiko
Japan 2016 part #4 – Fuji Shibazakura Festival and Chureito Pagoda
Japan 2016 part #5 – Fuji Q Highland
Japan 2016 part #6 – Matsumoto, Alpine Route, Snow Corridor
Japan 2016 part #7 – Matsumoto castle, Ashikaga Flower park
Japan 2016 part #8 – Tokyo Skytree, Ueno
Japan 2016 part #9 – Tokyo wandering, Odaiba + Disney Sea
