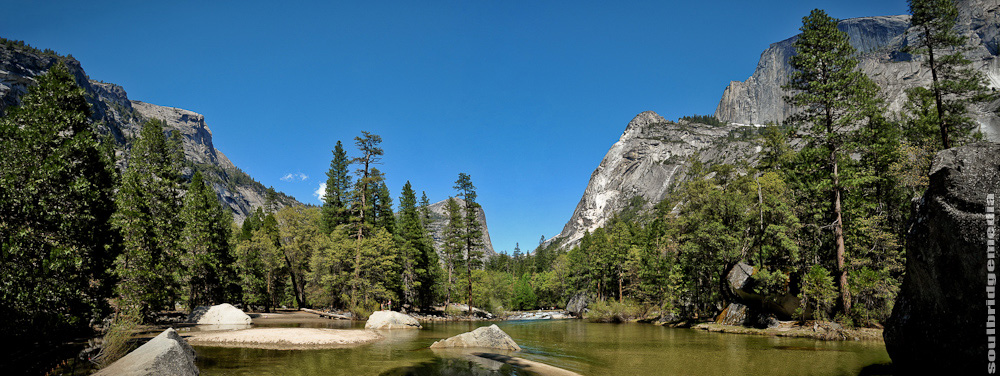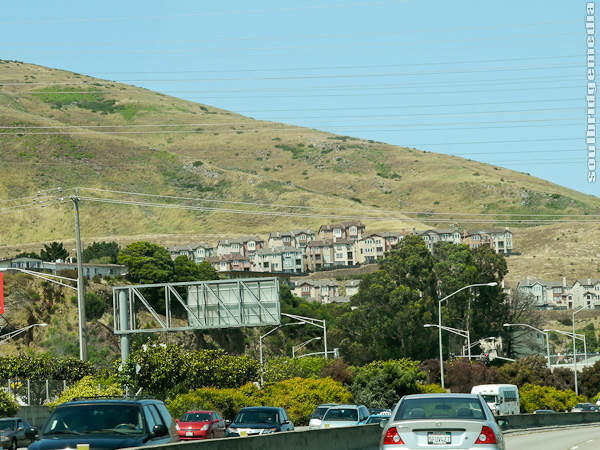
San Fran - Little boxes on the hill side
As we rolled into San Fran with the weekend traffic it was as much excitement to be in a new city as it was relief to ditch the car. As much as a benefit the car was we were keen to get away from having to battle traffic and that damn GPS voice over bitch! There’s only so many times you can hear “recalculating route” before you lose it completely and it was not a moment too soon!
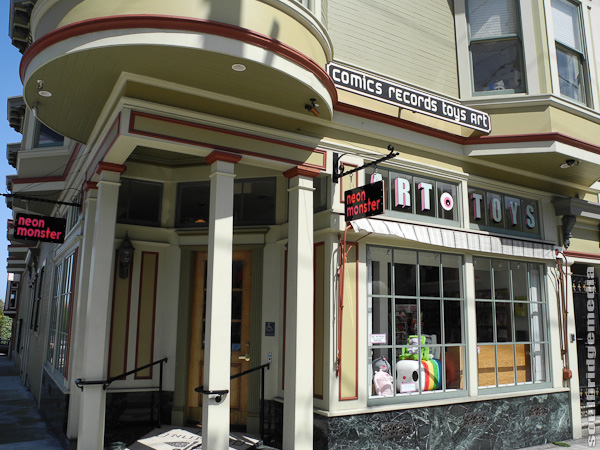
Neon Monster
On the freeway in it was nice to catch glimpses of the stereotypical San Fran hills and period buildings. We had a bit of time and fuel (car had to be returned back as empty as possible – insane, I know!) on our side so we decided to head out to Neon Monster. Its just out of the way enough to make it a bit of a hassle to get to and being a lone store it warrants a dedicated trip, but its definitely worth it. Bout the size of your regular boutique shop, the space is divided in half between collectible vinyl toys and books. There’s a good range of both but what makes this store a cut above the rest is the prices. Most full priced items were less than most places we had come across and there were plenty of items on sale or marked as clearance, most notable was the “twofa” deal on Kidrobot plushes. Sadly, about a month or two ago they closed their doors for good, however they have kept the online store running. Other art commitments were cited by some of the staff as their new focus so we will be sure to keep our eyes open for their work.
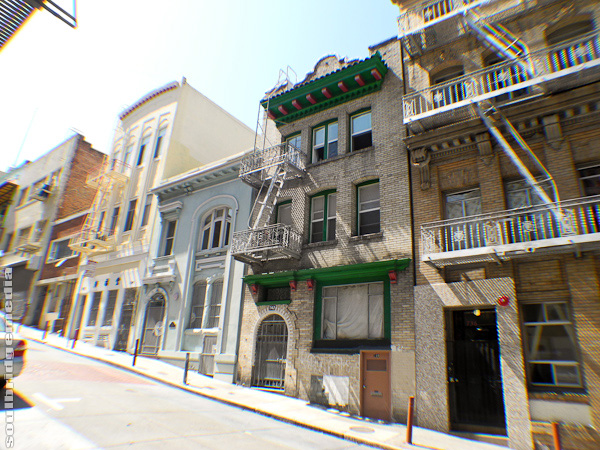
Heading to the CBD it was nothing short of a 70s cops and robbers movie with the steep rise and falls of the San Francisco landscape. If by chance you have hired any kind of “sports” car, take extra care as even with the 4wd riding height of the Ford Focus we were bottoming out on some streets and that was before the “spirited” driving 😉
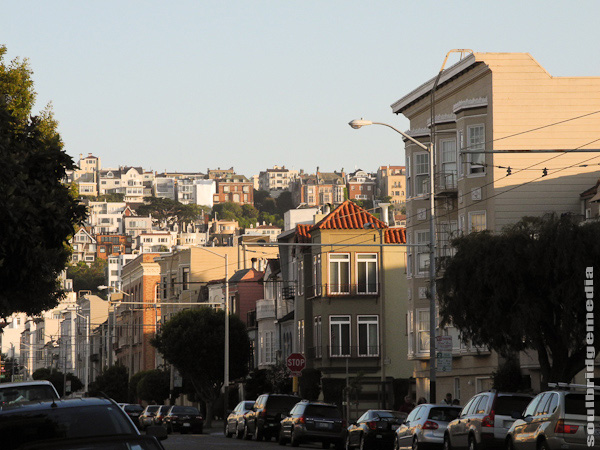
Arriving in the downtown area, went from bad to worse thanks to road works and one way streets, the looming deadline for car return wasn’t helping either. This was also the time we gave up on the GPS as it kept redirecting us to the road works and subsequent road closures. Switching to map only view and calling your own shots is definitely the way to go. Once that was sorted it wasn’t long before we found the hotel, unloaded our luggage and returned the car.
For the San Francisco stretch we chose to stay at The Park Hotel on Sutter (full review here) which was central to most amenities and was very reasonably priced.
Initial view of the city had hints of New York City. I was expecting it to be more laid back like LA, just less spread out but thanks to its density it was a lot more hustle and bustle like NYC. The driving and people’s attitudes at times reflected this but it only took about 15 seconds looking at a Google maps print out for someone to ask us if we needed directions, that’s always a good sign (:
Now car-less, our mode of transport was back to the humble public transport system, luckily SF’s Muni and BART systems are very efficient and quite easy to get your head around thanks to the smaller grid-like layout of the city.
Map in hand and a revitalised sense of discovering new frontiers we headed off to San Fran’s boutique shopping hub, Haight.
Milpitas 2011 – Great Mall
Yosemite 2011 part #1 – LA to Oakhurst via Bakersfield
Yosemite 2011 part #2 – Yosemite National Park
San Francisco 2011 part #1 – Arrival
San Francisco 2011 part #2 – Shopping – Haight, Downtown SF
San Francisco 2011 part #3 – Chinatown
San Francisco 2011 part #4 – Japantown
San Francisco 2011 part #5 – Alcatraz
San Francisco 2011 part #6 – Fisherman’s wharf, Golden Gate Bridge
Complete Yosemite 2011 photo gallery here
Complete San Francisco 2011 photo gallery here
Milpitas 2011 – Great Mall
Mil-what?
Milpitas is probably an unlikely stop for most travellers with it being over shadowed by San Jose in the south or Oakland in the north for stops on the way to San Francisco but when there’s a place called the “Great Mall” we couldn’t resist taking an overnight detour.
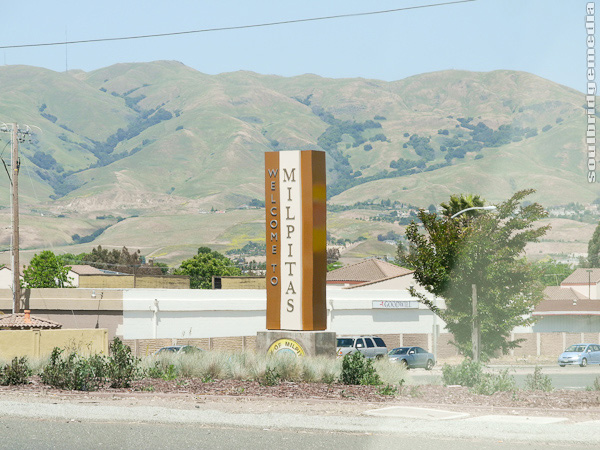
Milpitas
We took the 120 out of Yosemite to the 205 then the 680 which pretty much dropped us right at our hotel, The Marriot TownePlace Suites, which we strategically planned due to it being directly across the road from the Mall.
The day started off with a free continental style breakfast which for me included a portioned cup of the now extinct in AU, Corn Pops. Memories of eating them for dinner at uni came flooding back and it was a sign it was going to be a good day (:
Getting to the centre within the first hour of opening on a weekend day is definitely the way to go. No problems with getting a covered park right near an entrance and it’s a casual stroll for a good hour or two before the crowds start rolling in. It opens from 10am Mon-Sat. so you even get a nice little sleep in.
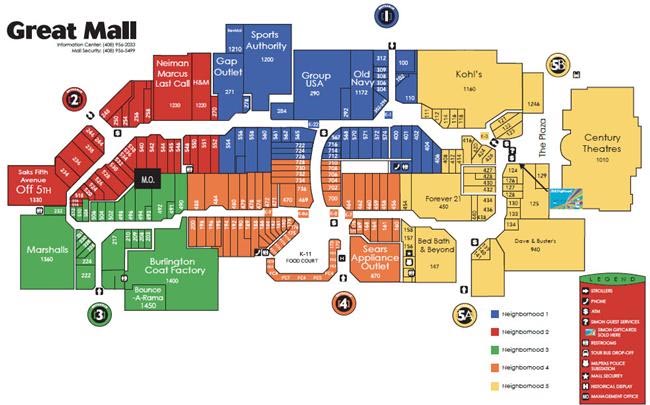
So to the shopping… with over 200 stores I guess it can lay claim to the “Great”ness but where to start? Since there were so many stores I’m going to refer back to the mall directory to help me remember them all and list them alphabetically.
The Nike factory store is a good place to start, big variety and I must say we bought more here than at Citadel. Cortez’s = $35USD, girls Airmax 90 = $30USD, Omar Salazar SB’s = $35USD *yoink* plus an array of apparel and tee’s at throw away multi-buy prices.
Reebok also has an outlet store and then there are the usual mall suspects, Champs, Converse, Finish Line, Journeys, Shiekh Shoes, Sports Authority and Vans. Footlocker gets a special mention as this one seemed to be one of their few clearance stores. Normal fair up front but at the back it was pile after pile of mismatched boxes, pairs and markdown on top of markdown stickers. For the most part there was a reason why most were reduced but there were some diamonds in that rough, biggest problem was finding how much they were. This thankfully paid off when a pair of Punkrose Retro Hi-Tops purchased, basically the bastard child of Chuck Taylor and Vans. Going by the reduced tickets and percent off markings, the guesstimation came to about $20 down from $100. Not bad at all right? Not even close, the sales guy stumbled back wide eyed before calling his colleagues over. While we were thinking…”Oh great we’re gonna have to put these back”, he turns the register readout around to show… $2.17 inc tax. What??? He even got the manager to check and sure enough that was the price! Free lunch then (: This further enforces my claim that the internet is not the best place for bargains 😉
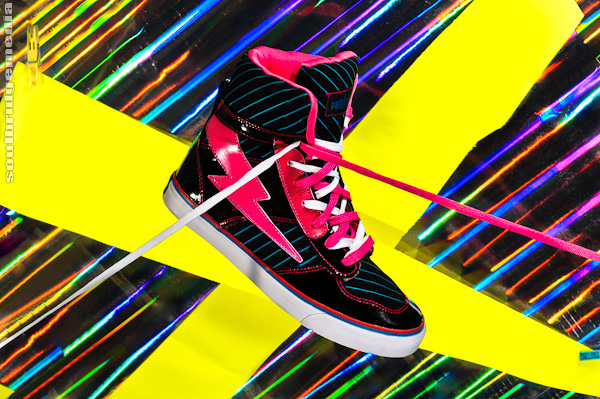
$2.17 inc tax!
After that, seeing items on sale just wasn’t the same, after all, its no $2.17! But we continued no less. Sanrio and Toys R Us were the only major places for toys though there were a couple places with a limit selection of anime and game related merch. Sears has an appliance outlet store if you’re chasing down some cheap Aldi-esque appliances.
What mall stop for us would be complete without a Wetzel’s Pretzels stop? Yep, just so happens there is one here too 😉 and it has stolen the torch for best pretzel’s ever. The fresh pretzel bites were a cut and a half (no pun intended!) above all the other stores we’ve tried, deeeelicious.
All pretzelled and bargained up we waddle out to the car and hit the road once more for our final USA stop, San Francisco!
Milpitas 2011 – Great Mall
Yosemite 2011 part #1 – LA to Oakhurst via Bakersfield
Yosemite 2011 part #2 – Yosemite National Park
San Francisco 2011 part #1 – Arrival
San Francisco 2011 part #2 – Shopping – Haight, Downtown SF
San Francisco 2011 part #3 – Chinatown
San Francisco 2011 part #4 – Japantown
San Francisco 2011 part #5 – Alcatraz
San Francisco 2011 part #6 – Fisherman’s wharf, Golden Gate Bridge
Complete Yosemite 2011 photo gallery here
Complete San Francisco 2011 photo gallery here
Generally in a day you could cover the valley floor and one or two of the shorter mountain/waterfall hikes, however, ideally a two day stay on site would be best to cover a fair portion of the popular areas as well as chances for sunrise and sunset photos and revisiting areas at different times of the day. In saying that, if you’re on a tight schedule, a “summary” tour of the park is doable in about half a day.
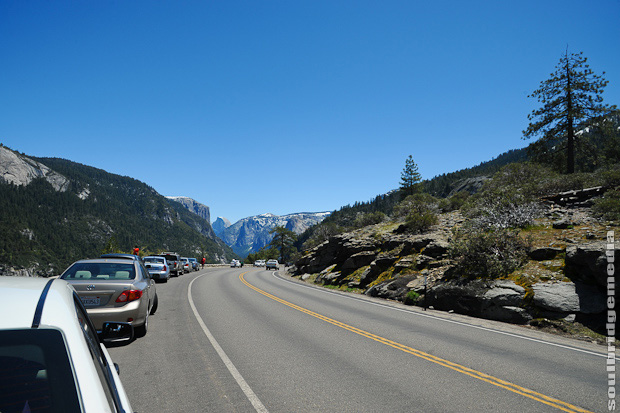
Yosemite National Park - one of the many lookout spots on the way in
Firstly, the place is vast, not just in a physical sense but in a commercial way to accommodate the masses of tourists, for the most part its all 2 lane, one way bitumen roads with plenty of spots to pull over. On the way up and over the mountain range its single 2 way roads but still plenty of lookout spots. Travelling in late May, early June will still see plenty of thick snow at the top of the mountain areas. Temperatures were high single figures (Celsius) in these areas but were quite warm on the valley floor, around low 20s. So while you’re active you can easily get away with shorts and t-shirt for most of the day, though temps drop off fast once the sun slips behind the mountains.
On the valley floor, you can actually drive to most of the major sights. This is definitely the quickest way, but of course everyone has the same idea and you will get caught up with those inconsiderate types holding up traffic, triple parked trying to get photos from their car. Even if you choose not to park somewhere, unfortunately there’s no escaping them because of the one way ring road layout of the park. There is a shuttle that loops this ring road but for a relaxing experience and access to extra areas minus some of the strenuous hiking or traffic headaches you can’t go past hiring a bicycle.
The bicycles are hired from the Yosemite village, which is the central point for visitors. Take your pick of mountain bike, cruiser, tandems or even ones with trailers for around $10 hour or $28 for the day. Helmets are included for the safety conscious. Yosemite Lodge is also the major hub for tourist information, eateries and a grocery/souvenir store. The store prices are all reasonable and service was friendly and quick. There’s even free ice water (:
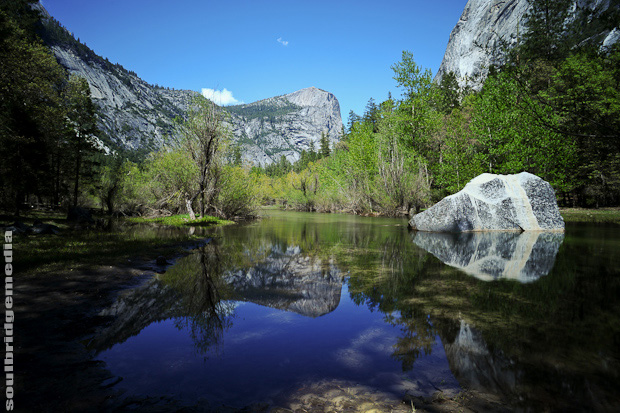
Yosemite National Park - Mirror Lake
For the most part, the ride is quite easy with very little variation in inclines so no prior triathlon experience is required. The steepest part you’ll encounter will be the path up to Mirror Lake but its only a short run before bicycle access is restricted. There are racks at this point but no locks or chains are provided, just make sure you remember which bike is yours! We marked ours with a napkin and rubber band around one of the hand grips (:
The rest of the walk up to Mirror Lake is quite steep. This is where you thank yourself from packing that extra bottle of water 😉 From Mirror Lake you get the classic view of Half Dome and some nice white water river action so make sure you have the camera and tripod ready.
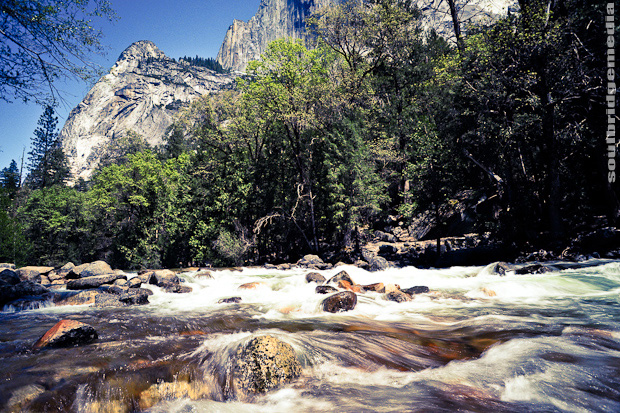
Yosemite National Park
The bike path crosses over the river a few times so plenty of scenic moments can be had. If you have the extra time, head on over to Yosemite Falls, if not you can still see it from the path.
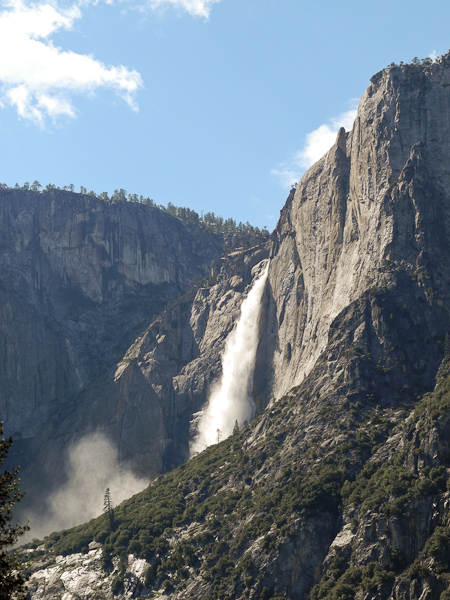
Yosemite Falls
Travel tip: If you’re travelling in the off season, road closures are always imminent around the park and access will be limited so check the forecasts and updates on the Yosemite park site.
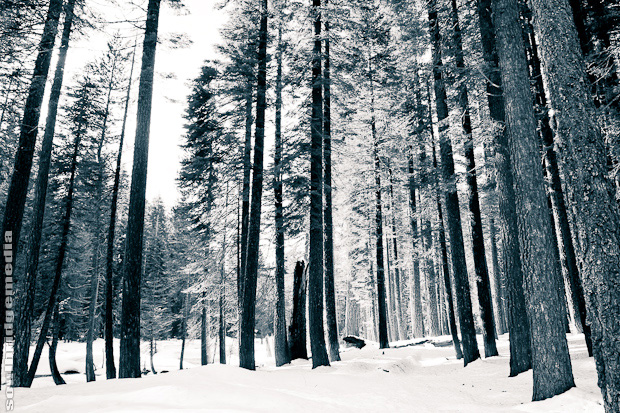
Yosemite National Park
After a quick frolick in the snow at a rest area along side a biker gang, we were heading down the mountain and out to the bay area. Next stop… Milpitas!
Milpitas 2011 – Great Mall
Yosemite 2011 part #1 – LA to Oakhurst via Bakersfield
Yosemite 2011 part #2 – Yosemite National Park
San Francisco 2011 part #1 – Arrival
San Francisco 2011 part #2 – Shopping – Haight, Downtown SF
San Francisco 2011 part #3 – Chinatown
San Francisco 2011 part #4 – Japantown
San Francisco 2011 part #5 – Alcatraz
San Francisco 2011 part #6 – Fisherman’s wharf, Golden Gate Bridge
Complete Yosemite 2011 photo gallery here
Complete San Francisco 2011 photo gallery here
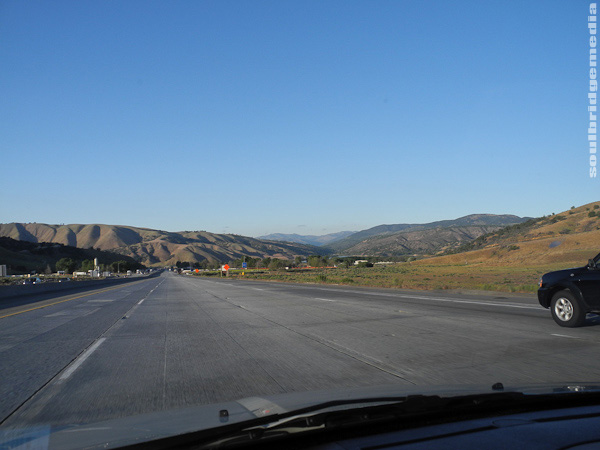
On the road again...
After nearly a week of LA driving, I was quite looking forwarded to hitting the open road with minimal traffic and doing the speed limit for more than just sporadic bursts. For the most part this wasn’t the case, thanks to convoy after convoy of semi trailers but having multiple wide lanes made it bearable.
We headed up the #5 through plenty of vast open plains and rolling hills to Bakersfield. Apart from the scenery there wasn’t much else, even the gas stations were slim so make sure you have plenty in your tank before heading off.
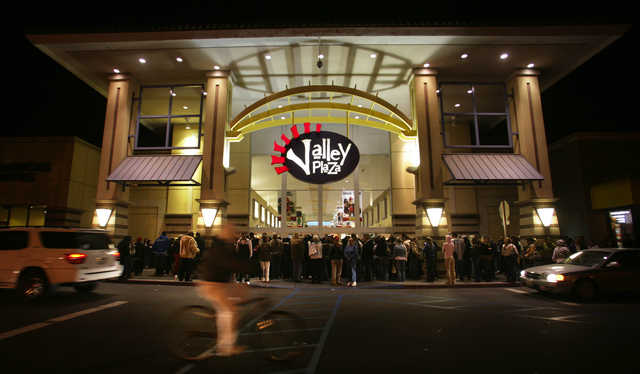
Valley Plaza Mall - Image courtesy of Bakersfield.com
Bakersfield was on the pit stop list for two reasons, the first being the Valley Plaza Mall off highway 99. The locals may not think much of it but it’s a great one stop mall with a lot of your favourite stores with small city prices and sales.
Three Footlockers, two Journeys and a Champs get the ball rolling for sneakers while there’s Mainland Skate for skate and surf gear. Purely by coincidence there is also a Wetzel’s Pretzels 😉
The major retailers are what you would expect, Target, Forever 21, JC Penny, Macy’s and Sears.
The second reason for our stop is of course it being Nu-metal band Korn‘s home town and the renaming of a small street for them. There was surprisingly little info online about this but that didn’t deter us from driving around in circles. Be warned though, creeping slowly through back alleys and circling empty carparks and service entrances WILL lead you to being tailed by police. Thankfully we weren’t driving a white Bronco, things could’ve ended quite differently otherwise. So we came to the conclusion that it just wasn’t there anymore. Further research however shows the town may have backed out on the renaming altogether or maybe some kids just taxed it. Either way, best not to waste your time.
I could probably go ahead and add a third item to the list and that would be the hot rod meet up at a small shopping center that we passed on the way in.
After Bakersfield the only other major stop is Fresno. With time slipping away from us we decided to “stay on” instead of “get off” (yes it’s a Speed reference :p ). From the freeway it all looks pretty same-y as you pass the small towns peppered through out the darkness with fields of carparks surrounding strip malls, all under the glow of fluorescent lighting makes for some eerie moments in the dead of night.
The lanes will lessen and the traffic will thin and you will finally arrive at the little mountain town of Oakhurst. Roughly about 4-5 hour drive but with stops and traffic you’re looking at closer to 7-8.
Travel tip: If you pull in to a town/city for a pit stop it is best to fill up as there are no gas (petrol) stations accessible/visible from the freeway.
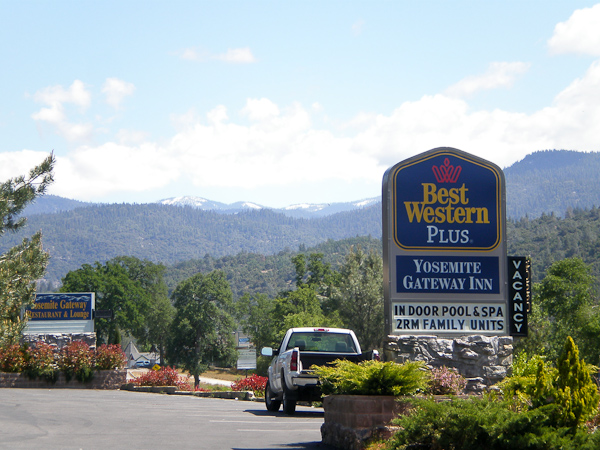
Oakhurst - Yosemite NP in the distance
We stayed at the Best Western review here for a few hours sleep before heading up and over the mountain range of Yosemite national park.
Staying at Oakhurst may save you a few dollars and some time off the initial drive but it does mean it’s a little longer to get to the park the following day. However if you play your cards right, its not that bad. It’s a given that the warmer months are when the park is at its busiest, so choosing an off season date will avoid some traffic and crowds, but generally you’ll want to leave yourself about 2hours to get there from Oakhurst, just to be safe. The distance isn’t that much but once you get to the mountain roads it will be slow moving thanks to inconsiderate drivers/sight-seers that don’t pull over to let traffic pass. Restrictive speed limits don’t help much either.
Travel tip: The entrance is still about 30-45min from the valley floor. When you arrive, make sure you have cash for the park entrance fee which is $20 per vechicle. Motorcycles, bicycles or if you’re travelling on foot its $10
Next up is the Yosemite national park, darn tootin!
Milpitas 2011 – Great Mall
Yosemite 2011 part #1 – LA to Oakhurst via Bakersfield
Yosemite 2011 part #2 – Yosemite National Park
San Francisco 2011 part #1 – Arrival
San Francisco 2011 part #2 – Shopping – Haight, Downtown SF
San Francisco 2011 part #3 – Chinatown
San Francisco 2011 part #4 – Japantown
San Francisco 2011 part #5 – Alcatraz
San Francisco 2011 part #6 – Fisherman’s wharf, Golden Gate Bridge
Complete Yosemite 2011 photo gallery here
Complete San Francisco 2011 photo gallery here
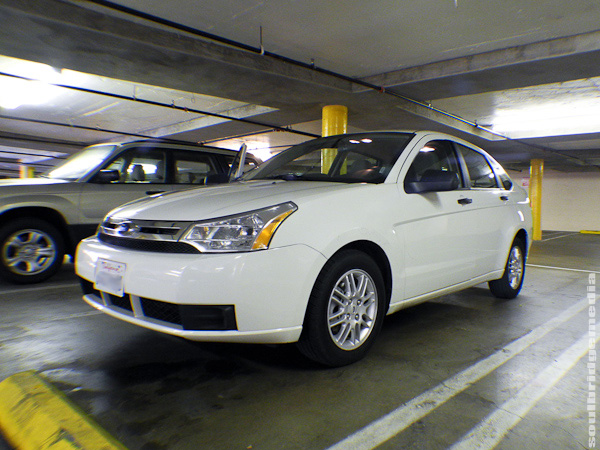
Off to bowls then...
Before we hit the open road to Yosemite National Park, some tips on car hire and getting about LA/California in your box with the steering wheel on the wrong side 😉
“No one walks in LA” is a sentiment you’ve probably heard on many TV shows and movies, its not until you get there and venture passed the tourist spots do you realise how spread out it is and how much a necessity it is to have your own transportation. Our first time in LA we stayed in Santa Monica and only really explored the Hollywood area, so bussing between the two areas was manageable as there’s quite a few services that do that route, but like most cities, finding the right bus and the stops to catch them from can be difficult and time consuming. Fine if you’re only there for a few days but staying any longer its best that you hire a car, not just for convenience but you will also get to see a lot more of the place and have your own personal porter.
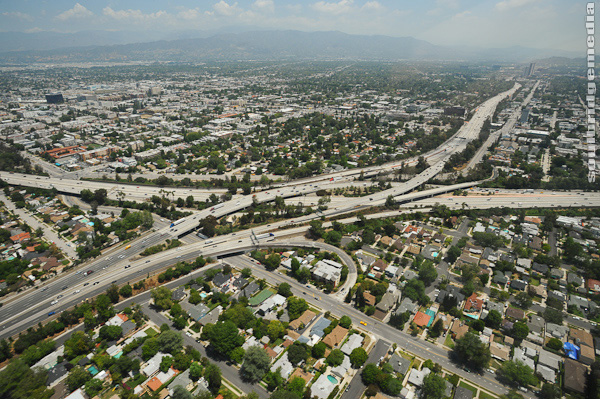
LA's notorious freeways
First stop, car rental. There are plenty of places to hire cars from at the airport, but of course the best deals come from pre-booking it online or via your travel agent. We hired through Dollar Rental purely on their cheap prices and even cheaper price found via our travel agent, but be warned, all is not what it seems. Details of hidden charges in my separate review over at Yelp.com (a good source for business reviews in the USA).
We ended up with a less than favourable Ford Focus thanks to space limitations of the other cars available (no other car had a boot big enough to conceal 2 suitcases) but it did the job albeit in its own poor ergonomic and uncomfortable way.
So you got your motor running and are about to get out on the highway, but first some quick tips:
– KEEP RIGHT. Start the mantra before you even get in the car each day. It might sound a little silly but anything that can break your years of previous experience will help because once you’re in the thick of it, your first instinct will be to go to the left side of the road, especially when turning left.
– Turning right on a red light – Yes, its legal. Basically the red light becomes a give way sign (confirmed with the local boys in blue) This is a little strange to see at first but after breezing down the right hand lane and not having to wait for some of the long light changes you’ll soon wonder how you lived without it and why its not done here!
– Turning left at the lights – This is always a little nerve racking, mainly because turning lanes from both directions line up with each other and because the intersections are so big you need to drive to the center to be able to make it across if you don’t have an arrow light. Of course the person travelling in the opposite direction is doing the same except they’re driving a block of flats, so you essentially have more chance of seeing the dark side of the moon than what could be barrelling down in the other lane. Just edge forward and when you see your chance, floor it. If the lights turn red, don’t sweat it, they’re surprisingly patient when it comes to people being stuck in the intersection.
– Merging/exiting on the freeway – Sooner or later you will have to get on a freeway. They spaghetti above the city and connect every major area and can be a breeze at the right times.. just be prepared for peak hour. Getting on and off is something else, what you have is a “no man’s land” area of 2, 3 or 4 lanes, unmarked. A lot of on-ramps join to almost immediate off-ramps, good if you’ve taken the wrong turn, bad because there’s on-ers and off-ers trying to share the same space.
This is usually where things get ugly, instead of letting someone exit, an entering car will try to over take the exitee instead of merging behind it and taking its place in a lane. Entering vehicles will also use the smallest of openings to join the freeway, usually as immediate as they can resulting in cutting someone off, rather than using the merging lane to speed match and find an appropriate spot to merge. A tip around this is to watch your right side mirror, if you see someone burning up the merging lane, just as they’re parrellel with the car behind you, speed up just a little bit. This closes the gap in front of you and widens the one behind. They pretty much always take the bait 😉
– Parking – Street parking is rare and expensive so use it for “get in get out” stops only, make sure you have plenty of quarters too otherwise you’ll be racking up the fees on your credit card. The other option is parking garages and lots. Unlike Australia this is a very cheap alternative, usually in the range of $3-6 a day, most with no “enter before” or time restrictions. One of the best sites I found for this is http://losangeles.bestparking.com/index.php#1 which displays locations and costs. Some even display real time vacancies. Don’t fret if you haven’t pre-planned where to park, almost all parking lots have a guy in a hi-vis vest with a flag waving you into their lot. Try not to get these guy confused with actual road workers!
– GPS – This is a given, though some might prefer a paper map to forgo the cost of hiring one. While the GPS is almost useless in the downtown area thanks to the skyscrapers, it will more than likely save you many times when making direction changes or finding locations on the fly. Depending on who you hire you’re your car through, it can be around $5-15 a day so if you’re driving for a week or more, an option is to buy a cheap one locally from places like Best Buy (There’s one in the Westfield next to the airport). Alternatively you can rent maps for other countries at a discounted price (usage time limited) via your local GPS manufacturer. Or you may be lucky enough to buy an AU one with a promo deal for a free international country map rental like I did 😉
– Paper maps – I know… ewww! Thing is they’re not going to lose their signal or try to tell you to go somewhere you don’t want to go or take you in a 2 block loop instead of doing a U-turn. They will also be a godsend when it comes to getting around road works or randomly closed streets instead of continually redirecting you to the same dead end! Also handy when you’re on foot. Google maps is also your friend for detailing specific areas.
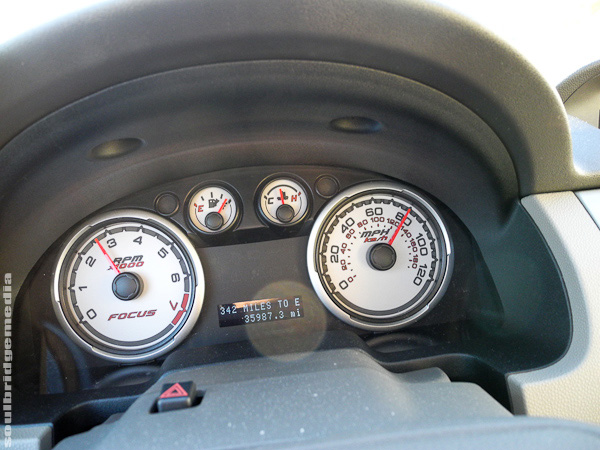
Doin' 80 on the freeway, po-lice catch me if you can..
In general LA drivers, while quite bad (possibly due to the complacency and laziness of all those automatics :p) are rather tamed, cars meander all over the road with many near misses but it seems the most they get is a horn toot and a “now would you look at this sonofabich”, possibly due to the less dense laid back lifestyle, possibly a catastrophic coronary brewing under the surface. In saying that, like any where, even if you’re doing 80mph in the left lane there will always be someone tailgating you or trying to over take you, usually in a Prius. Maybe its their cloud of smug giving them little man syndrome? :p Just keep your calm and let them go, you’ll more than likely overtake them at the next back up of traffic or hill 😉
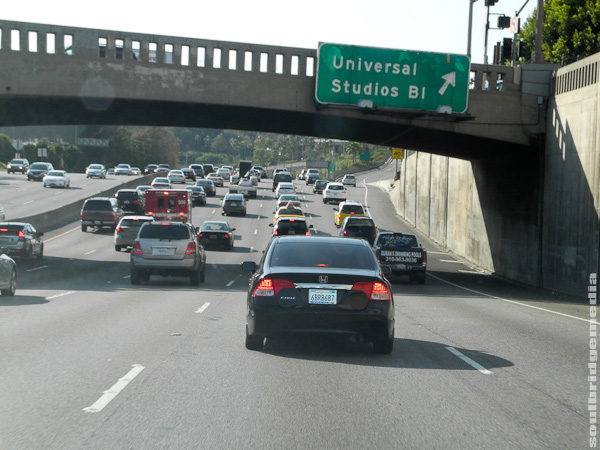
Get used to this view of never ending brake lights
With that in mind, we say farewell to tinsel town and make our way up to Yosemite!
Los Angeles 2011 part #1 – Arrival, Melrose Trading Post
Los Angeles 2011 part #2 – West Hollywood shopping, Mulholland Drive
Los Angeles 2011 part #3 – Downtown shopping – Fashion District
Los Angeles 2011 part #4 – Downtown shopping – Japantown
Los Angeles 2011 part #5 – Steel Panther @ The House of Blues 17/5/11
Los Angeles 2011 part #6 – Hollywood sign, Farmer’s Market
Los Angeles 2011 part #7 – Peterson Automotive Museum
Los Angeles 2011 part #8 – Greater LA area shopping
Los Angeles 2011 part #9 – Hollywood sight seeing with Orbic Air
Los Angeles 2011 part #10 – Driving in Los Angeles/California
Complete Los Angeles 2011 photo gallery here
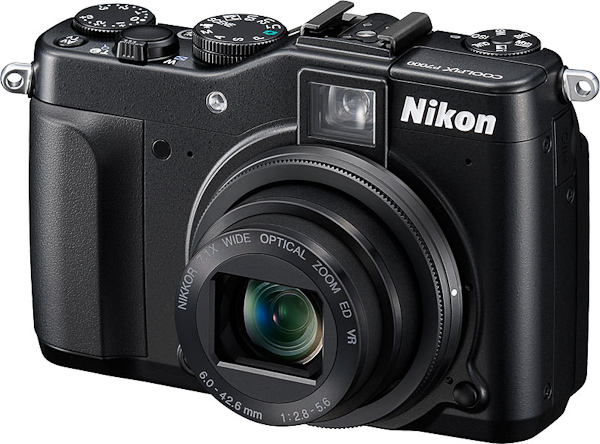
Well I don’t know about anyone else but I’ve been waiting close on 2 years for this to happen, ie. The next generation of high end compacts from Nikon. After a lacklusture attempt and a subsequent beating from Canon, its finally here, the Nikon P7000.
Rewind a couple years and you have the P6000, compared to the Canon G10 equivalent of the time it struggled, especially in the noise handling department, but generally it felt like a rushed release and barely made a dent in Canon’s hold. Even dedicated Nikon enthusiasts like Dave Hobby raved about the G10 and subsequently converted.
But like they say, good things come to those who wait, and I must say, not a moment too soon. Earlier in year we travelled to Tokyo, Los Angeles and New York City, while the DSLR came in handy at scenic locations and the zoo with a 300mm, generally it was more a burden than a benefit. Especially on those dedicated shopping days spent mostly in doors, where you’re spending more time reaching for your wallet than your camera. There is also the issue of whipping out a DSLR that gets you unfavourable attention in some stores or neighbourhoods. This would have to be my main reason for going compact, something suitable for lightweight travel/everyday use and a lot less conspicuous.
The other reasons would be having an emergency back up for my DSLR thanks to the hotshoe and a macro mode with a crazy 2cm minimum focus distance. More on these features in a bit.
So, to the camera itself. This will not be a detailed technical review of the functions etc. there are plenty of those online, just let your fingers to the walking. This will be more about practicality, everyday use and why I think it’s the bee’s knees 🙂
Firstly, local stock has been available for at least a couple months now. Major chains like Ted’s are retailing them for around $700 (camera only at time of writing), if you don’t mind a bit of gray marketing you can find them online for around $600 (usually including a memory card and a couple other bits like a screen protector, mini tripod etc). You don’t get any form of a case (not even one of those thin microfiber sunglasses style ones) with the camera so the first thing to do would be to have a look at the Lowepro or Tamrac range. Thanks to the popularity of the Canon G series, Tamrac has a case that fits the P7000 perfectly, model # 5689. These are available from CR Kennedy in Albion (Brisbane), have a chat to Brad there, mention us and you might even get a good deal depending on if he’s had his pub lunch yet or not 😉 either way you wont be paying the high prices found on ebay.
So it fits the same case as a Canon G series, but the similarities don’t stop there, side by side at a glance you’d be forgiven in mistaking it as the soon to be released G12 or one of its older brothers.
The palm foot print is probably at the limit for a compact at a size similar to an iphone. You can still get it into the back pocket of your pants but in general you’re better off with a case, a bag to throw it in or using the included neck strap.
The upside to the extra bulk is you’re never mistaken of its presence in your hand, which helps when coming down from a DSLR.
Performance – put simply, for a compact it’s top notch. I liken it rather closely to the handling of my old Nikon D80. Does 800 ISO quite casually but after that it gets the wobbles, though 1600 is still more than usable, which is a huge step up from the usual camera phoning at ISO 400 for most other point and shoots. Start up time is almost instant and there is only a minor delay between shots while the image is saved.
Here is an example straight out of the camera (apart from resizing):
Auto mode: ISO 1600 f4.5 1/60
100% crop
One thing I have missed while owning a DSLR, and something a lot of compacts can actually do quite well is macro shooting. A dedicated macro lens was next on the list but it lost out to the P7000. Where the P7k stands out from the others is its crazy minimum focus distance of a “yep, that’s going to bite me for sure” closeness of 2cm.
I’ve yet to roam my house looking for (un)expecting insects but here are some common items. Manual focus helps with composition but like any macro photography, a tripod helps alot, specially in shadow areas to keep the shutter speed down instead of pushing the ISO up.
Some macro mode examples straight out of the camera:
Samsung e500 (actual size approx ¾ of a business/credit card)
Macro mode, ISO 1600 f3.2 1/25
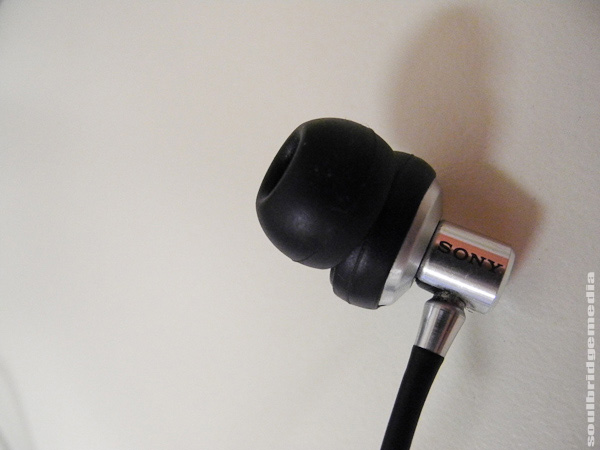
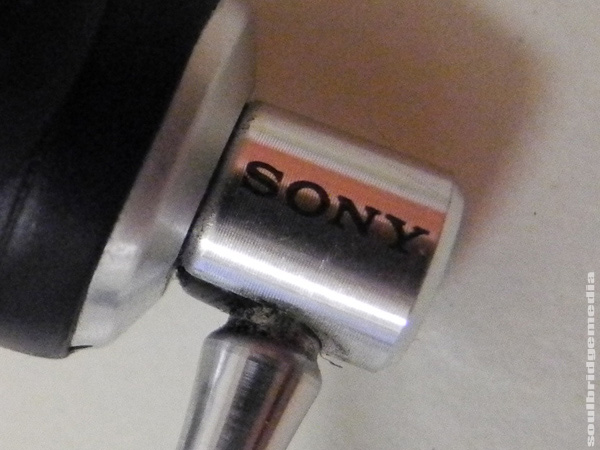
Sony MDR EX91 (wow, they really are dirty!)
Macro mode, ISO 1600 f3.2 1/25
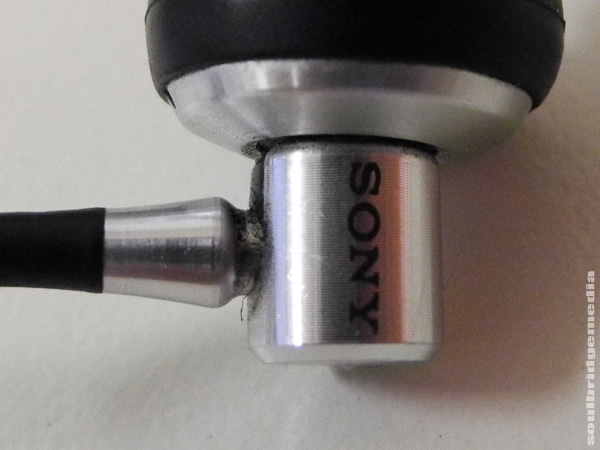
100% crop
Macro mode, ISO 800 f3.2 1/55
100% crop
Macro mode, ISO 1600 f3.2 1/125
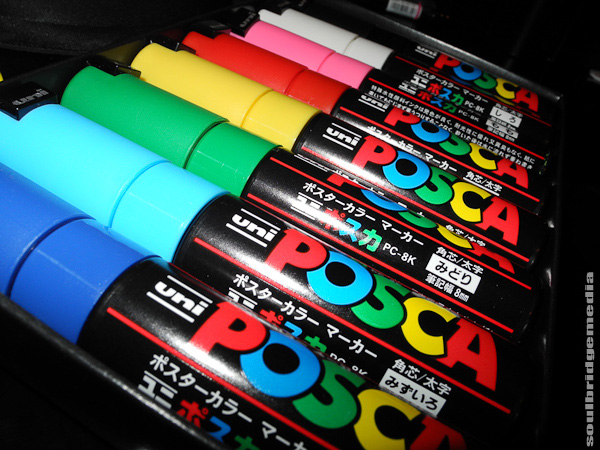
Macro mode with onboard auto flash
ISO 200 f6.3 1/30
Speaking of the flash, it is what it is, small and harsh. Thankfully the hotshoe takes any modern (re: digital) Nikon speedlight which, just like on a DSLR, instantly changes the look of the photo either by coverage or the ability to bounce (example below). The drawback of course being it becomes very top heavy, even with the baby of the range, the sb600 gives it an uneasy off balance feeling, but that doesn’t matter too much if you’re using a sync cable or remote trigger. Shame they didn’t build in CLS (wireless remote triggering and control), that would’ve been a nifty feature.
Simple bounced flash shot off white ceiling with SB600 speedlight
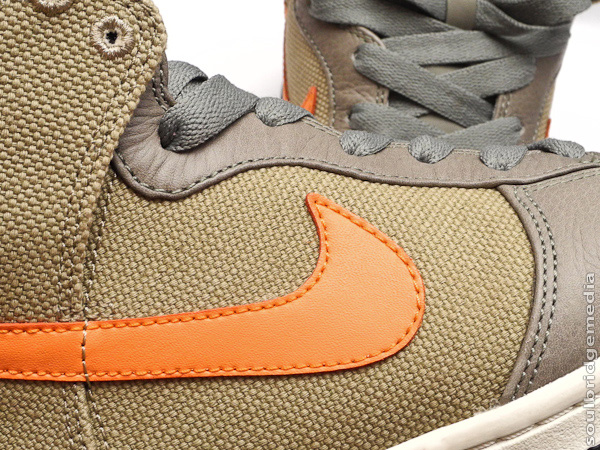
Video function is another thing I’ve been missing from my arsenal, not necessarily award winning stuff but a quick live summary of an event or mental note that a couple still frames just cant capture is a definite bonus. Like alot of cameras/phones with video modes, quick panning is a bit poor but otherwise more than usable for everyday footage.
The included View NX2 software is pretty standard, the video editing feature allows a simple story board with a small selection of transitions and the ability to add stills and audio. No overlaying, speed of play control or advanced editing but enough there to throw together a montage of little Timmy’s birthday party.
All in all, it is what it is, a high end camera for those down grading from a DSLR. If you’re upgrading, keep on cruising, you only need to spend about $100 more to get yourself a full blown DSLR like the Nikon D3000. Body is still quite small for a DSLR and of course you get a nice big APS-C sensor (as opposed to the 1/1.7″ of the P7K).
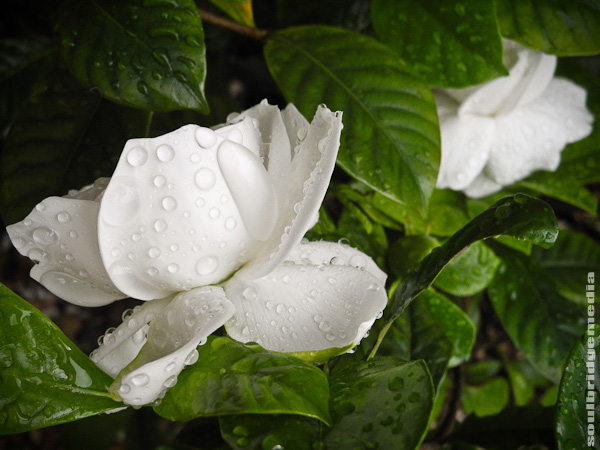

This is the first installment of “Under the Tongue” sub blog. Basically, its a review of sneakers and associated fashion. The difference being these reviews will be from a practical/wearable angle, not just looks alone, of items I personally own or use and not just regurgitating a media brief or guessing what material is used/what it would be like in action from a reblogged photo (incidentally as with all posts in this blog, all photos are taken by us).
So, these are actually my first pair of Adidas, believe it or not. I’ve always liked the styling and some of the superstar releases have been insane but they’ve always looked a bit funny on my feet. Not sure why, maybe I’m just used to looking down and seeing a Nike tick 😉
But when you combine a half-cab cut, subtle suede and a classic retro styling in a simple colour way, its very hard to say no!
In another insomnia induced marketing brainstorm I came up with another one of my fictitious ad campaigns.
Under the Tongue:
– 3 different grades of suede on the upper
– they fit true to size
– sole is on the thinner side, presumably for the skate market and subsequently as comfortable as a skate shoe after long periods of wear.
– quality control is a little hit and miss. I looked at 3 diff. pairs and all had inconsistent shaping of the toe sole. Instead of cutting straight down, one of the shoes would have a slight angling outwards (visible in the photo).
– being suede, don’t do what I did with my J5’s and wear them out in the rain, unless you want to give them that 5yo look in the time it takes you to say “holy sun shower batman”
– These have yet to hit AU shores and with no word on a local release, you will need to get clicking to find a pair.

