
G-Shock cleaning basics
Not so long ago we did a write up for the G-Street gang with a run down of basic cleaning, like any publication they did their own edit so in case you missed it, here’s the “directors cut” in its entirety.
G Shock Cleaning part 1 – Basic cleaning
There are 3 basic schools of thought when it comes to how G’s are treated. 1. Keep ‘em clean 2. Treat ‘em mean 3. Stay fly and multiply.
For team number 2, G’s are bought and worn for their intended life purpose, to be beaten like a rented mule. Dirt, grime and battle scars are worn proudly like the ears of their slain on a necklace, Universal Solider style… much to the dismay of others who have to handle the watch with tongs if its left on a bench.
Those in the number 3 camp, and lets face it, its who we are or at least are aspiring to, have enough G’s in our collections to disperse a week’s worth of dirt over 7 watches (or more) so it can take a lot longer for them to accumulate the same amount of wear, but it will happen eventually. So for the benefit of longevity, comfort of wear and housemates/GF’s/wives everywhere a bit of regular cleaning goes a long way.
>>These tips are by no means the be all and end all, these are what have worked for me over the years, however with the variety of models, textures and finishes, your mileage may vary.
Why clean?
Dirt and grime attracts more dirt and grime and over time the salts and acidity from sweat can deteriorate the resin and affect the finish. Sweat and water can also collect in these areas, which if near small metal parts like screws, pins or pin springs, can rust or seize them. Comfort is the other main reason, coarse particles or other residue can lead to skin irritations. While much rarer, some functionality can also be lost like the ease of pressing buttons or the ability to charge a solar model.
Know thy enemy – Common culprits:
A1. Scuffs and markings – Shows as darker or shinier mark, common when bumped on hard surfaces or grazed during regular wear. Appears mostly on corners and edges of non-glossy resin.
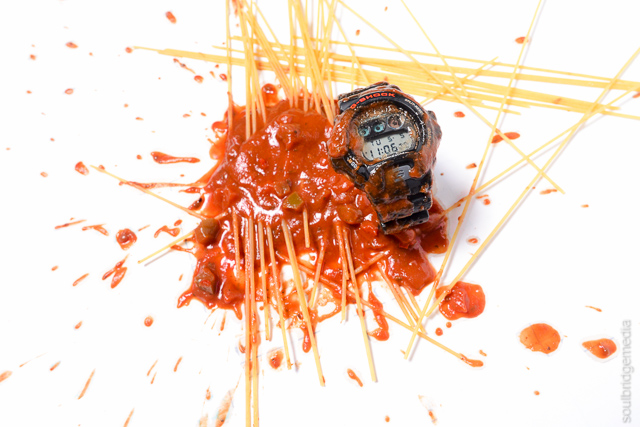
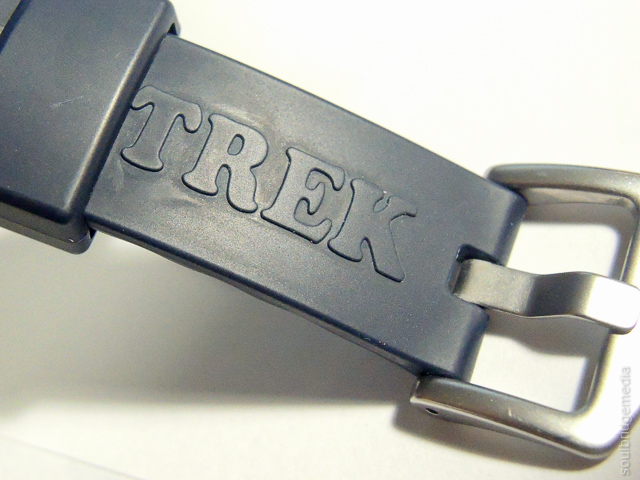
A2. Dirt and grime – usually a combination of dust or dirt with sweat oils and water to get a lovely toe jam paste which forms around pins, casebacks, buckles, raise or embossed sections, where the band meets the case on the underside etc. Grime can also appear as a discoloured coating with an uneven texture. (see fig 1a, 1b)
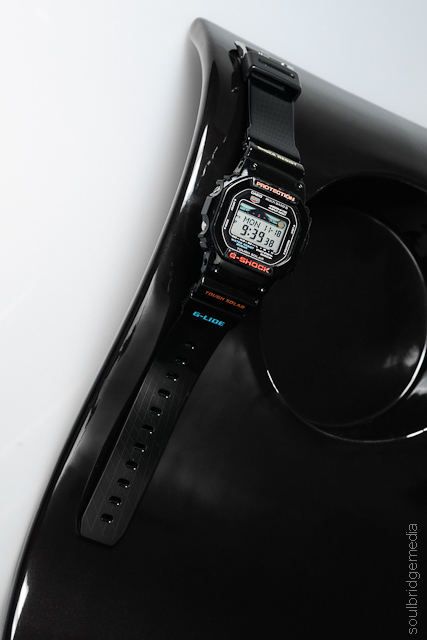
A3. Salt/sweat/chlorine residue – shows up on darker coloured resin as crusty white marks, a bit like a high tide line, you’ve probably seen the same marks on the brim or front of your regularly worn cap. Just like the high tide line, these marks appear where it -was-, not where it –is- so its not uncommon to see them on the top surface of the band and lug area where the band meets the bezel. Can also collect in embossed areas and buckle holes (see fig 2 and 3)
A4. Paint – paint splatter from work or an out of control custom or taking on a wall or door jamb with the G emerging victorious, taking a souvenir with it.
A5. Welding splatter – ok maybe not so common but a special note for those welders out there frivolously melting resin left and right… just go with stainless steel and spare me the heart ache. Please.
(This one goes out to Ben who’s done himself a right mischief, get well soon buddy!)
Actung Baby – Warning
If your resin still looks new, then don’t go gung ho and try to clean it for no good reason. Use passive methods only, running water, light sponging etc. anything abrasive can and will mark the resin, this includes tissues and cotton tips if the right kind of pressure is applied, it may be very light and only visible on certain angles but spare the elbow grease for your beaters. Persist with the least abrasive methods ie. Soap, sponge, warm water, where ever possible.
Clean up your act (for matte resin)
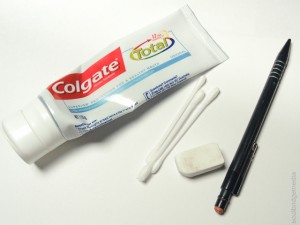
1. Rub one out – Erasers (for A1 above) – This, at best, is a temporary fix with only a medium success rate depending on the scuff but its always worth a try since its simple and non-damaging. Take a regular pencil eraser and rub it on the smoothed or marked spots. Far from a new to old restoration but it will dull some spots and bring back a bit of that out of the box velvety look. For tight spots use the small eraser on top of a Pacer. (see fig 4)
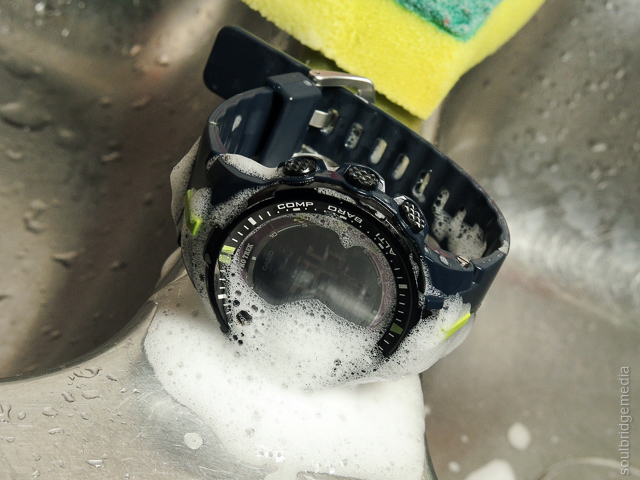
2. At the car wash – Soap, dish detergent (for A2, A3) – This is the quickest and easiest way most will say to keep your G clean. Multitask while in the shower or create a weekly/monthly bath time ritual. Use a soft sponge to lather and lightly scrub stubborn areas. Make sure you rinse and dry it well afterwards, soap/detergent build up isn’t much better than the grime itself. Use a cotton tip to get around edges and into crevices and buckle holes.
3. Mum’s the word (for A2, A3 above) – Mum’s know a thing or two about cleaning so its no surprise some of their go-to’s work as well.
Toothpaste – has a fine abrasive which can help move some stubborn marks with the help of a fine toothbrush also leaves dank straps smelling minty fresh. You can also use it as a polish for restoring shagged crystals (glass on the case). I have not needed to do this yet but there are plenty of folks who champion it.
Vinegar – add a generous splash to a bowl of warm water and wipe/sponge over. Use a cotton tip dipped in it for detailed areas. Rinse thoroughly then give it a soap bath (as above).
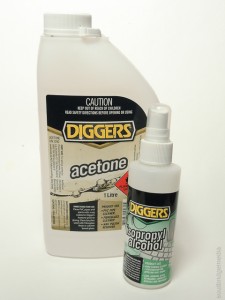
4. Chemical brothers – Isopro and Acetone (for A4 above) – Like taking off your shirt to eat, things are getting serious if you’re breaking out the solvents.
For stubborn salty marks or stains Isopropyl (or Isopro) can help. Its an alcohol based solvent commonly used to clean electronic equipment and whiteboards. You may have come across it in the form of Isocol (green bottle with an alligator). If you had zits at school or got a graze you probably dabbed a bit on it, which burnt like all buggery.
While mostly mild to resin it still has some corrosive properties and can take the finish or many surfaces if you get carried away, so start with a lightly damp (not wet) cotton tip on the underside of the band to test it.
Acetone – basically nail polish remover, will have no problem stripping most oil based paints and clear coats on resin. So take extra care! But if you’re reaching for this its most likely to remove paint, and if you’re painting you’d probably already know how to use it. If not, same as with the Isopro, use very sparingly with a barely damp cotton tip. If it is to remove paint splatter take as much care as possible to very lightly wipe the paint but not the resin. Let the acetone do the work, not the scrubbing action.
For thick dried splatters, try scratching it off with a fingernail or toothpick first, take care not to over to it and have your nail/toothpick skid off and mark the resin. If the paint is still wet, try dabbing it off instead of smearing it.
If however you’re stripping colour or the clear coat for a custom, then go to town with it, just don’t scrub too hard as marks will be left in the resin which will show up after the dye job.
You can also use this method to remove the clear glossy coat from jelly resin to leave a matte finish since the colour is in the resin, not the paint coat.
Some of the cleaning arsenal:
Dem Feels – Glossy and Textured resin
The above is ideally for plain matte resin. Anything with a gloss, satin, textured or printed finish, take extra care and caution. Personally I’d stick with soap and water where ever possible.
If you’re particularly concerned about trying to keep your new resin as pimping as possible, choosing a model with a glossy finish will help repel dirt and grime very well. The trade off however, once the clear coat gets worn down to the base coat it looks rather rubbish and without this protective coating, wear occurs much quicker down to the bare resin. Of course the other trade off is you’ll have to wear glossy resin which could be a tough pill to swallow for some.
Common sense and care
Use it. The above processes are all reasonably straight forward but if you’re in any doubt or get carried away, I nor G-Street can be accountable, but if you think about it, you’ll have a new beater and a reason to buy a new G so that’s not really that bad is it? 😉
Stay tuned for part 2 – Advanced cleaning and resin removal.
—
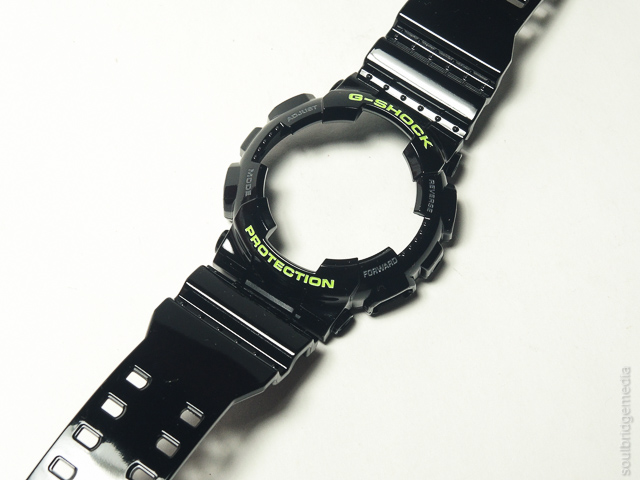
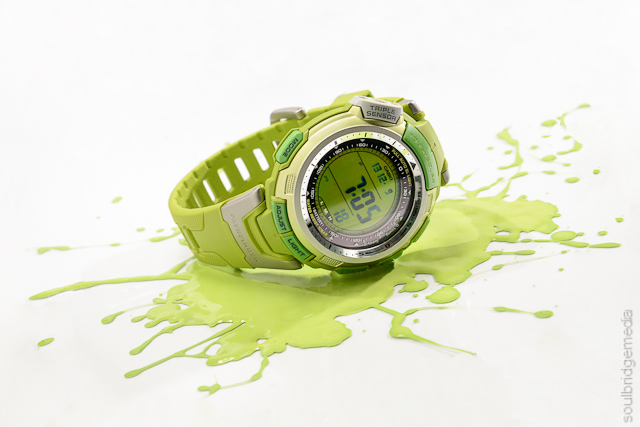
>>Special thanks to Troy for the loan of his PRG3000 Protrek (not that he had a choice since it was already in my possession 😉 ) for this article since I couldn’t find a G dirty enough!
—
Fig 1 (a). – Grime isn’t always very noticeable and is usually only visible under certain angles. Here you can see a broad coating around the “PR” and localised build up around the raised lettering especially around the “TR”.

Fig 1 (b). – Slightly different angle shows more of the coating
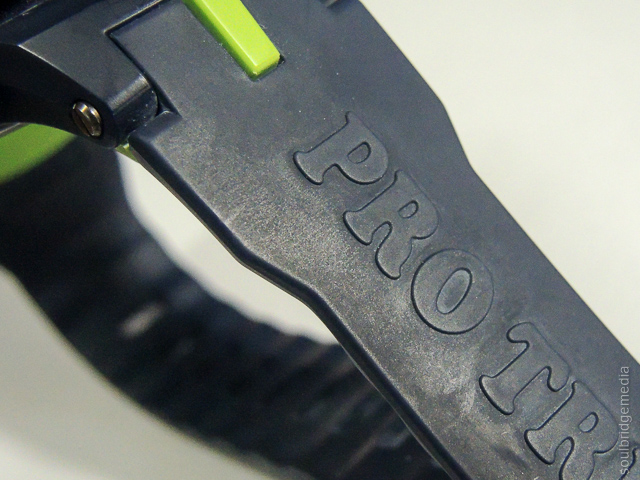
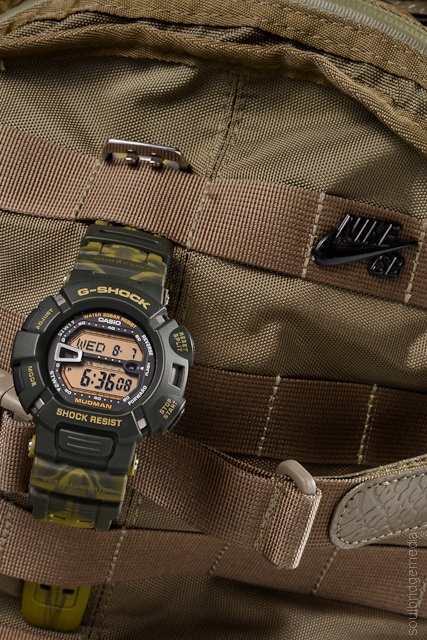
Fig 2. – Sweat salts and the like collecting in the embossed area on the band
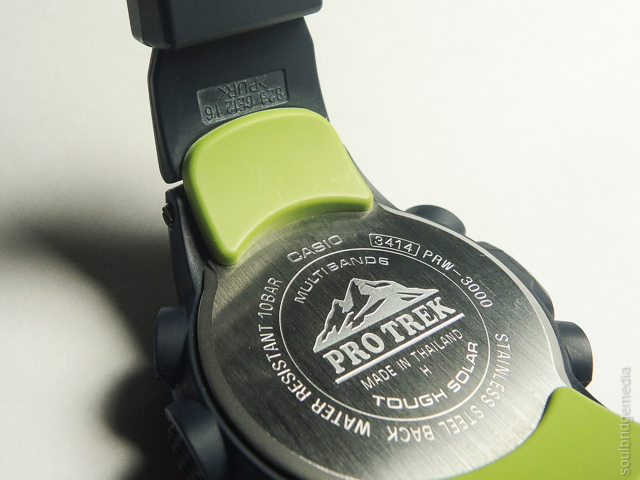
Fig 3. – Sweat salts and the like collecting in the buckle holes
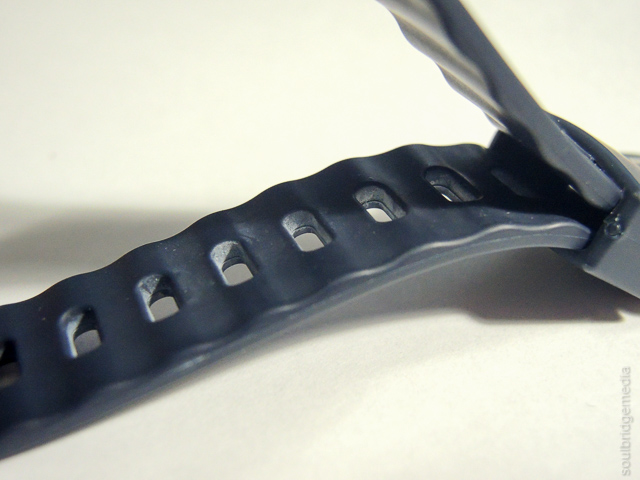
Fig. 4 – Normally for grime its better to use warm soapy water and a sponge but here is an example of the eraser technique, note the visible difference around the K.
If you have any questions about the processes in this article, want to talk about G’s in general or just geek out with some toy talk head on over to The G Collective – a closed group we have created with a couple buddies to do just that (:
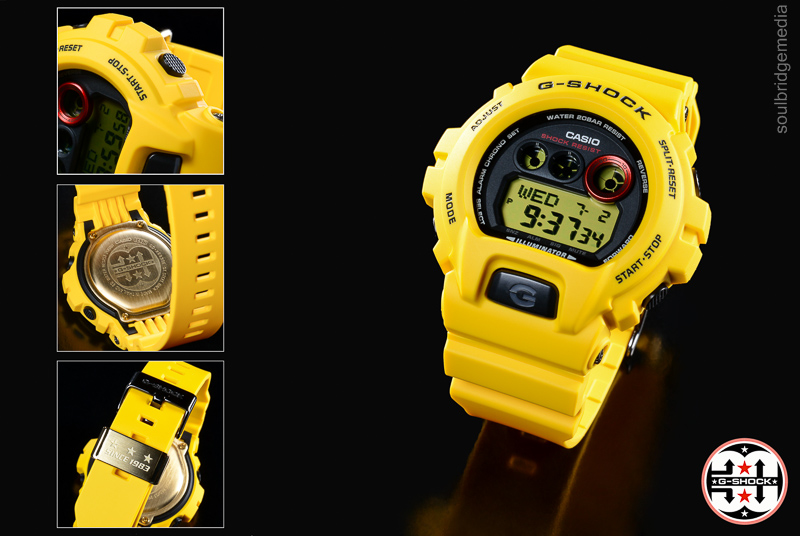
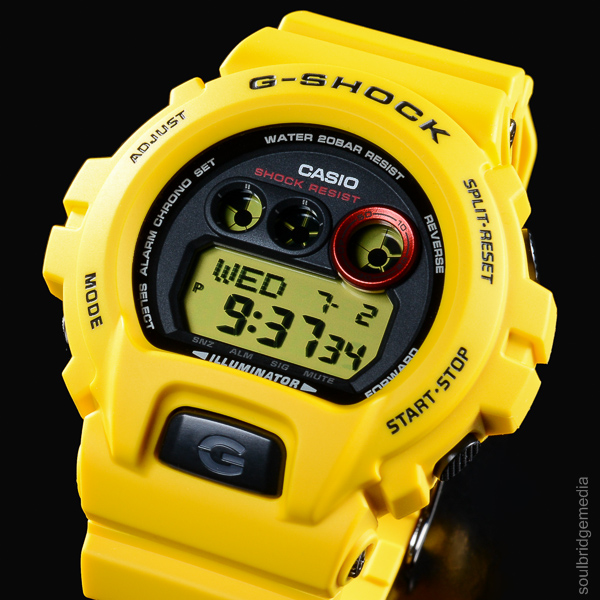
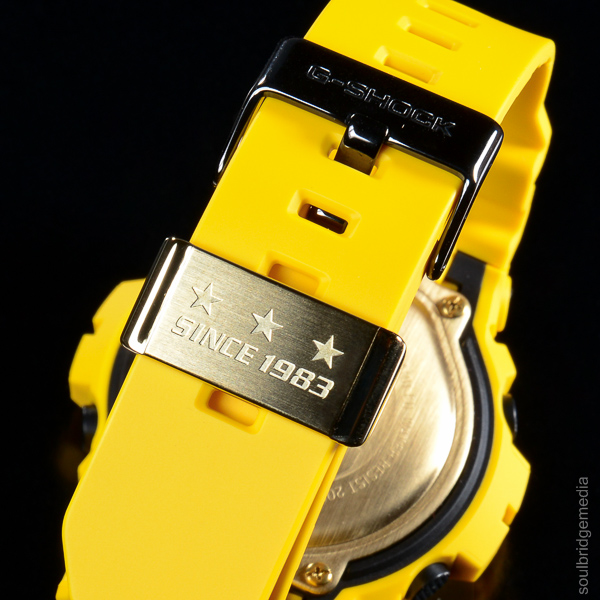
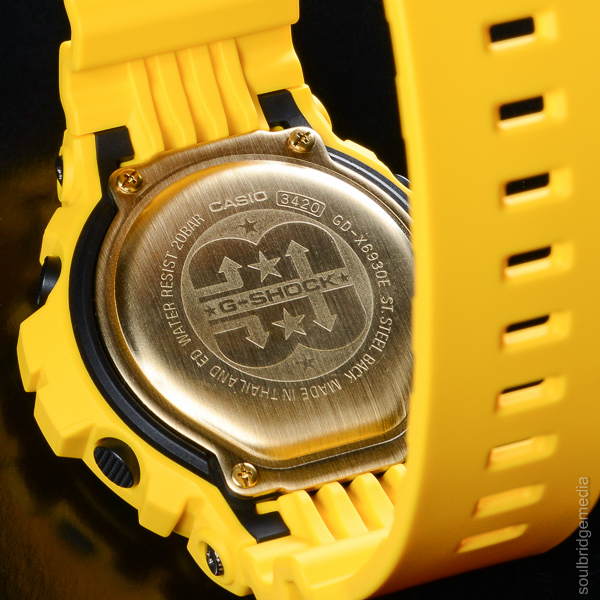
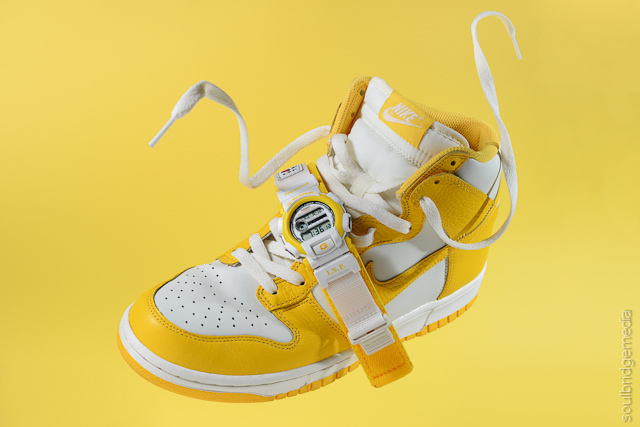
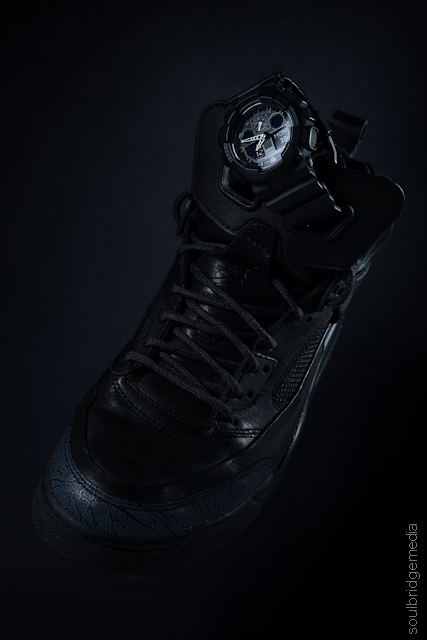
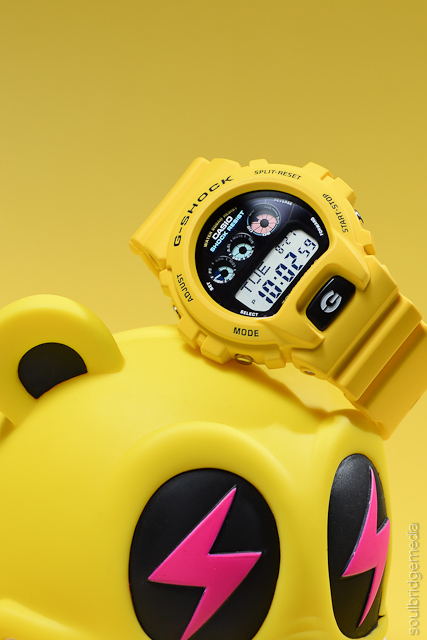
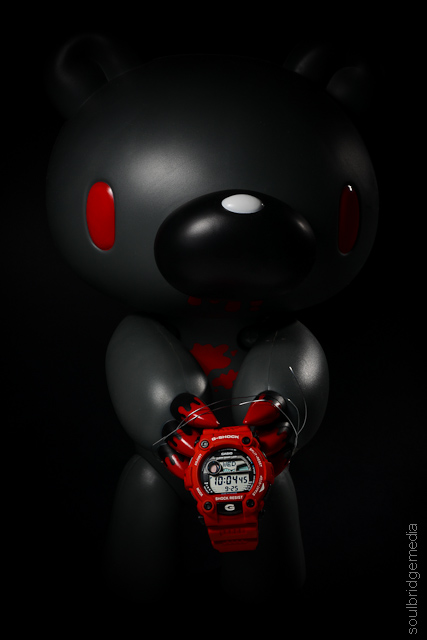
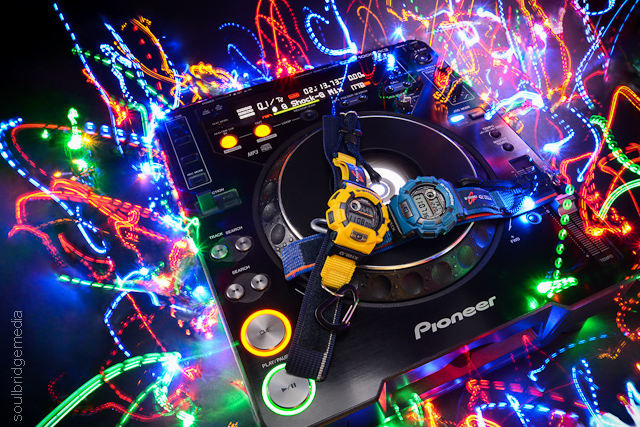
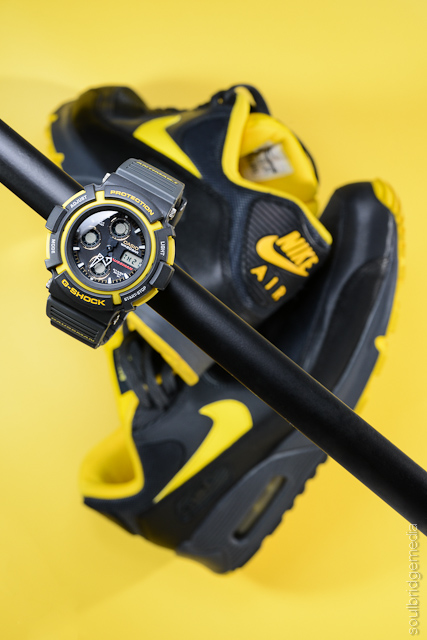
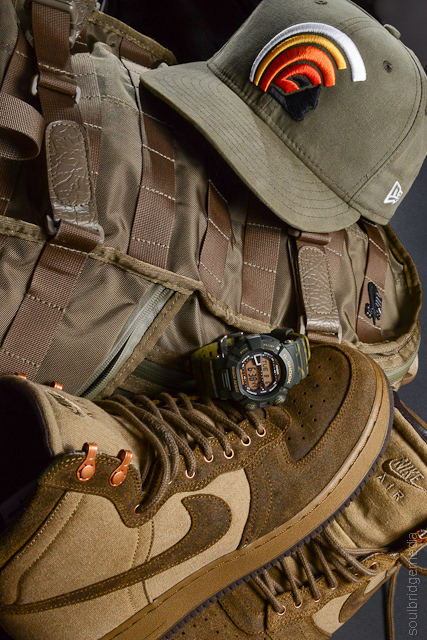
Last year G-Shock celebrated its 30th anniversary of creating tough time pieces and general bad-assedry. With a slew of releases for the occassion it wasn’t an easy choice but when it came down to the eye popping Lightning Yellow combination it was hard to say no! The finishing touches of the gold case back and band keeper to mark the occassion wrapped in the new “all about dem gains” bulked up GDX case its a real head turner! So of course we had to hit it up for a portrait shoot 😉
After finally getting to ditch our luggage at the Yaesu Fujiya hotel a couple blocks from Tokyo station, we once again had time against us as we rushed out to Gotemba, home to the Premium Outlets mall and the last day of “Golden Week”, a nation wide sale which only happens a couple times a year.
It’s a bit of a hike – made longer with the wait and change to local trains then a (free) shuttle bus before you actually get there.
Travel tip: budget about 2 hours (door to door) to be safe (should be less if you get the right connections) from Tokyo station. Once you get to Gotemba station, walk down the stairs and out to the car park, you’ll see a big sign for Premium Outlets with times for the shuttle bus, which runs about twice an hour. Remember to plan your return trip so you aren’t left stranded out in the sticks!
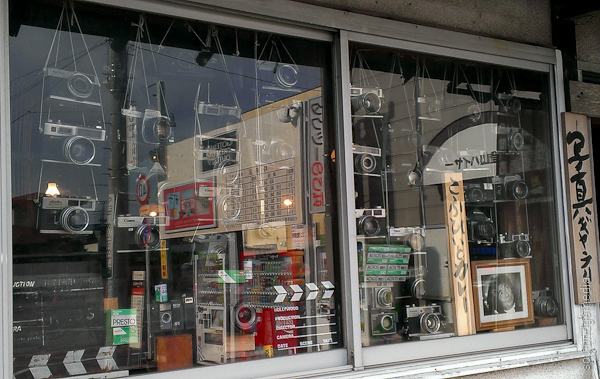
Travel tip: kill a bit of time at the small store which sold a bit of everything. Cool vintage cameras adorn the windows.
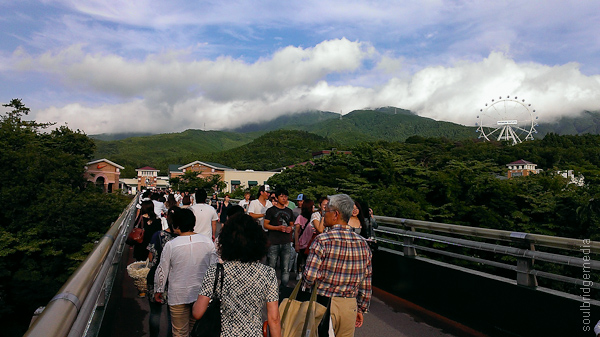
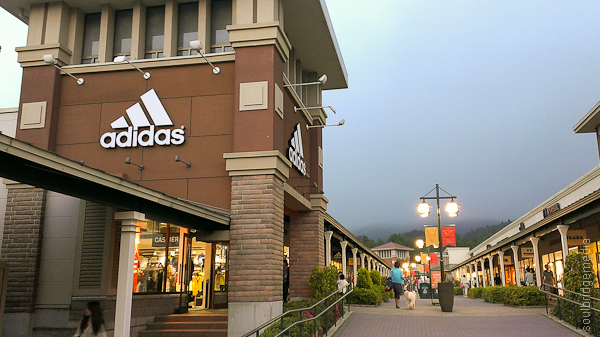
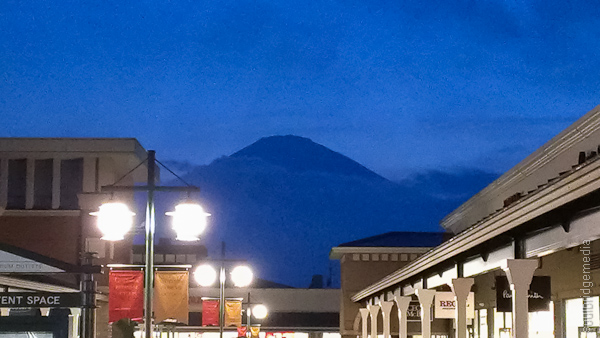
The mall is very unassuming amongst the trees and mountains on the small roads leading to it. The complex is split across two sections divided by a scenic bridge and river (see first image). Two reasons why we chose to come out here, first, the Golden week sales – which were sadly disappointing, most stores had sales but nothing even close the the fire sale that’s hyped about online. The second reason was sadly also a little disappointing – to see Mt Fuji without having to go to it but thanks to the ever present haze it was completely invisible until just after sunset when its looming prescence was revealed as a silhouette.
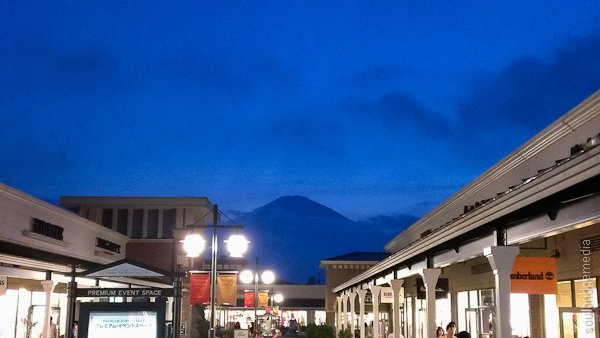
Travel tip: Mt Fuji is viewable from many spots around the mall and from the shinkansen travelling between Osaka and Tokyo, however its most likely to be shrowded in cloud and haze, but if you’re lucky, you might get it on a good day as seen here, photoed from the shinkansen by one of our friends, thanks Troy!
So, back to the shopping. First stop is the information booth to grab your travellers discount booklet which sports coupons for percent off or after purchase bonuses. Most excellently, these worked on top of the already reduced items. Golden Week may have let us down but these made up for it in a small way, especially at the Nike Outlet store, which was definitely a highlight and some of the best bargains we came across on the whole trip. However, being the first day we were reluctant to fill the suitcases so early on. Turns out that helped A LOT but let’s just say, next time we’re just going to bring an extra one 😉

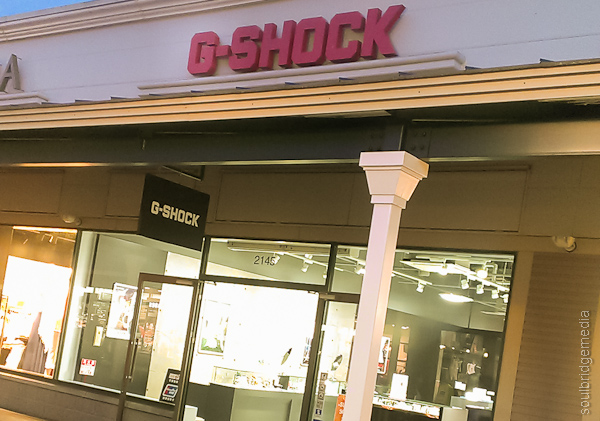
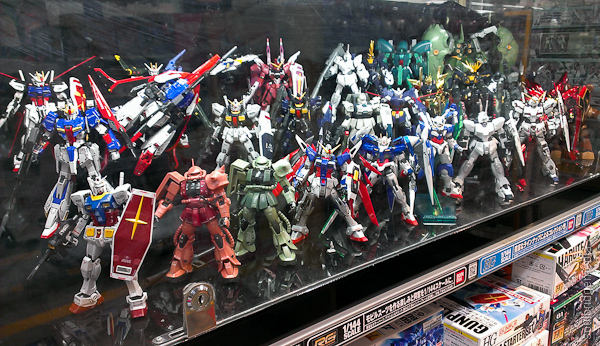
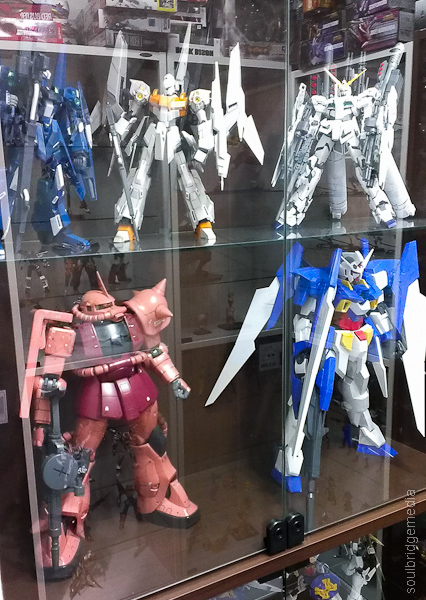
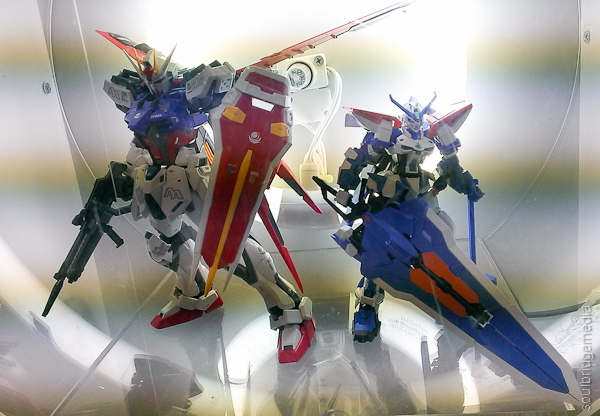
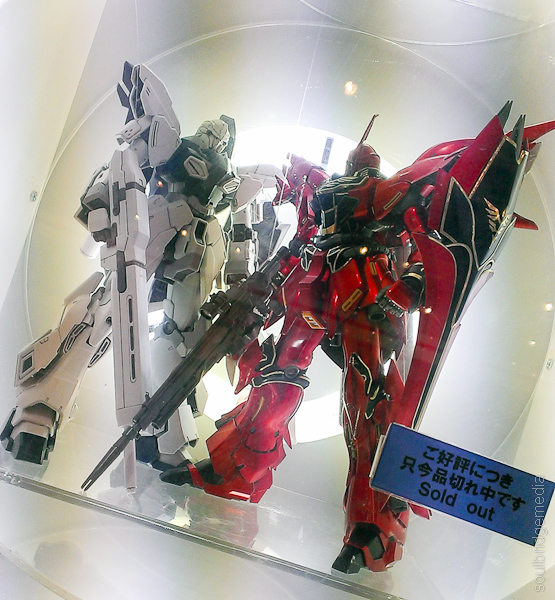
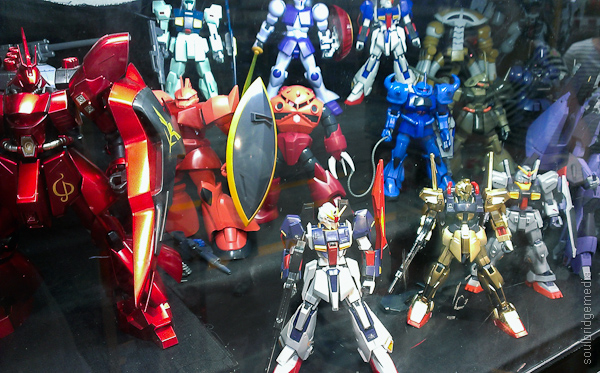
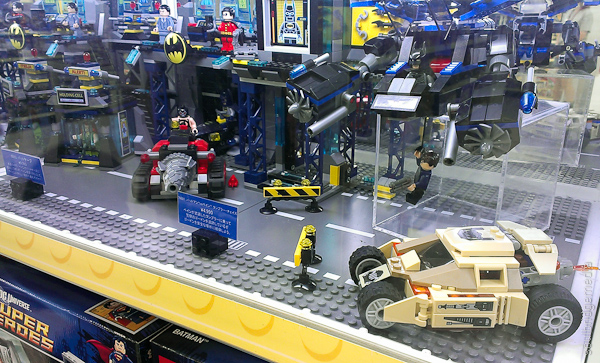
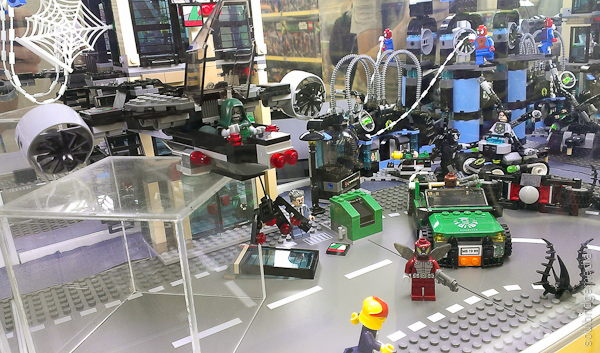
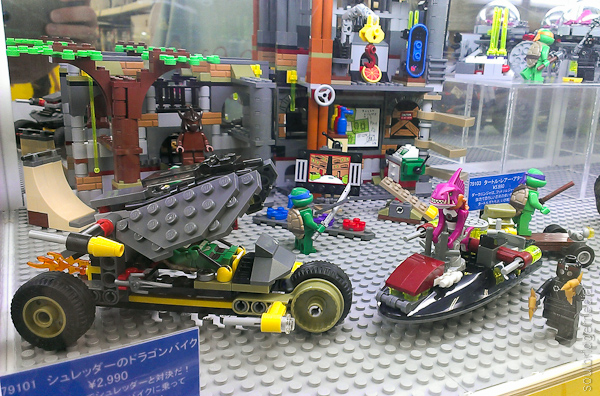
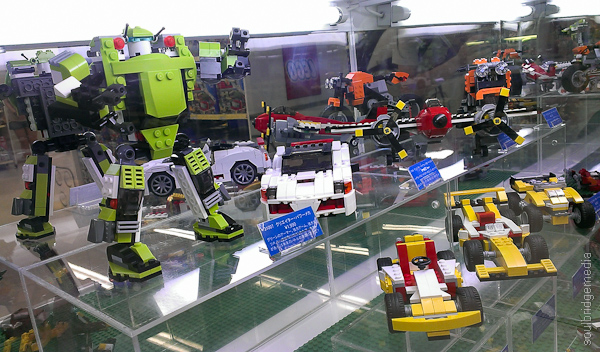
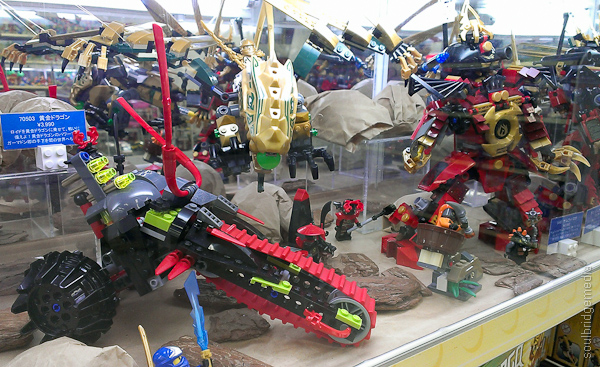
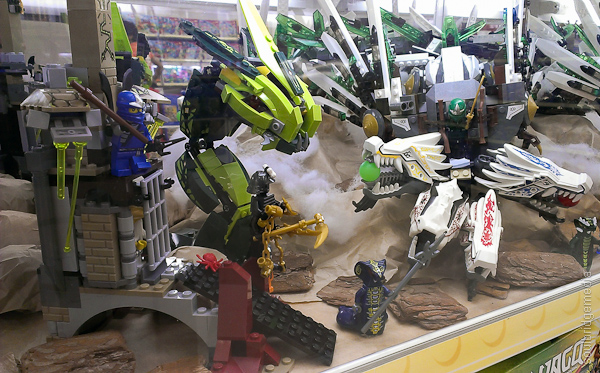
The rest of the stores are what you’d expect from the Premiun Outlet chain(and very similar to other branches around the world (re: Hawaii 2012)). Stand outs for us included Adidas (nice variety of stock and generously discounts); G Shock (a couple items were slightly reduced but nothing you couldn’t get online for a lot less); Bandai (all full RRP but the coupon helps a bit with the decision making, although we found quite a few items were cheaper outside of Tokyo – most noteably Den Den Town in Osaka); Lego and Sanrio are always fun to stop in, the former requiring just that bit longer with all their displays 😉 (see bonus photos below); Nikon– prices were like the G Shocks – cheaper online but it was nice to venture into a mothership, Reebok, Puma and The North Face are worthy of a quick look in as well.


There’s also the swanky labels that put the premium in to “Premium Outlets” like Armani, Anna Sui, Burberry, Bvlgari, Dior, Dolce and Gabbana, Gucci, Harrods, Hugo Boss, Jimmy Choo, Prada and Ralph Lauren but far out of reach for our modest wallets and tastes!
Finally, the foodcourt offers a nice variety of western and eastern eats and desserts covered mostly by local brands.
Note: it closes before the shops do so you may want to eat first if its coming towards the end of the day, but of course you can always count on Macca’s (off to the side of the complex) if you miss out!
Next we catch the Catbus to the Studio Ghibli museum!
If you have any questions on our travels, where to buy, what to do or just want to share your own stories, hit us up on the Soulbridge media facebook page.
Japan 2013 part #1 – Arrival
Japan 2013 part #2 – Tokyo International Toy Expo
Japan 2013 part #3 – Gotemba – Premium Outlets mall
Japan 2013 part #4 – Tokyo – Studio Ghibli Museum
Japan 2013 part #5 – Tokyo – Kichijoji and Nakano
Japan 2013 part #6 – Tokyo – Akihabara
Japan 2013 part #7 – Tokyo – Tamiya HQ, Diver City
Japan 2013 part #8 – Yokohama – Zoorasia
Japan 2013 part #9 – Yokohama – Ramen Museum
Japan 2013 part #10 – Nissan HQ and Yokohama
Japan 2013 part #11 – Osaka – Nanba Shopping
Japan 2013 part #12 – Kyoto
Japan 2013 part #13 – Tokyo – Harajuku, Shibuya
Japan 2013 part #14 – Osaka castle, Umeda Sky building
Japan 2013 part #15 – Osaka Aquarium and Tempozan wheel
Japan 2013 part #16 – Osaka Universal Studios
Well it started here and now we’ve finally gotten around to finishing off the 30 days of our fave time keeping piece (ok, so there’s more than 30 and we even threw in a couple Protreks/Pathfinders for good measure 😉 ). We included a nice variety of models with a generous helping from the late 90’s/early 2000’s for those new to G land, a couple Japan only releases and the “Heavy Metal”/”Stargate” that started it all for me back in 1997! Respect RDA! 😀
Here’s to another 30 years!
Enjoy!

Head on over to our Facebook page to check out the full gallery!
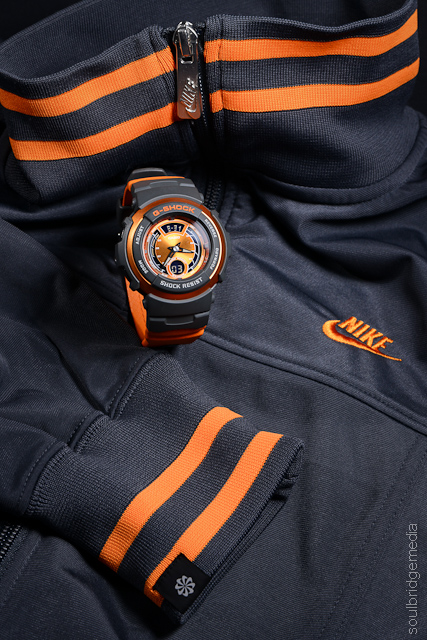
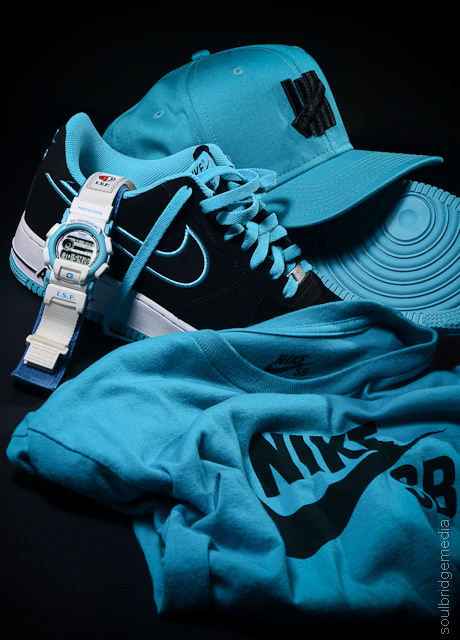
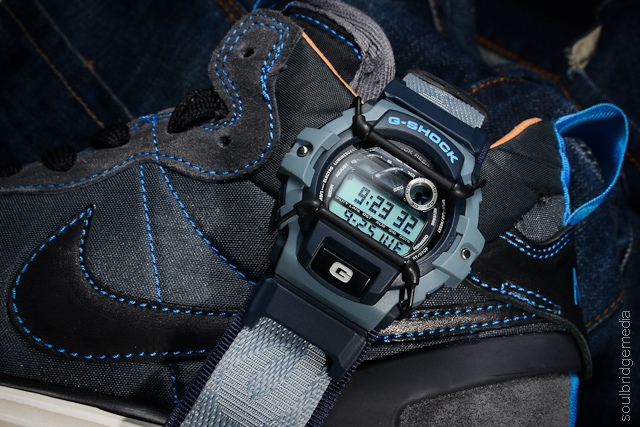
With celebrations well underway around the world for Casio G Shock’s 30th anniversary, we thought we’d have our own little shindig and share our love of the chunky wonders with 30 Days of G Shockin* over on our Soulbridge Media facebook page. We’ll knock up a variety of photos with colour blocking and various other items from sneakers to clothes to toys and more so check back regularly. If you haven’t liked the page yet, get over there and clicky clicky!
Happy dirty thirty you tough bastards!
* – give or take and as time permits 😉
—

Beijing 2011 part #4 – Shopping
Shopping in Beijing… where to start? No, seriously, where do you start?? There are scores of huge multi-level shopping centres which pretty much fall into two categories, high end dedicated brand name stores and haggle city, home of knock offs, repetition and de ja vue. Having shopped till we almost dropped (well at least to the point where we were shipping box loads of stuff home from San Fran and London), our enthusiasm to battle the crowds was waning but we still managed a few stops and a couple last minute items to toy with out luggage limit.

Wang Fu Jing Da Jie
Downtown
A good place to start is downtown Beijing (Dongcheng), an open air, sealed off road style shopping/business center on Wang Fu Jing Da Jie (crossroad : Jinyu Hutong). Nearest metro is Dengshikou, under 1km away or a similar distance from the Forbidden City (depending on which exit you take). Hesitant or cultural shocked shoppers will find this a nice way to ease into it, nothing like the Golden Arches or the Colonel to set your mind at ease no matter where you are in the world 😉 The northern end houses a fair selection of branded watch stores included Omega, Tagheuer , Rolex, our G Shock friends and plenty of glasses/optometrist stores. Nike Beijing is also there, mostly along the athletic side of things with only the latest stock so you wont find any rare releases or streetwear related items but there is a Nike iD upstairs. The store sits in a multi level mall with a run of the usual random clothing and electronics stores, there are however some notable boutique stores sporting some designer Kidrobot, anime, kawaii style gear, like Devil Nut, unfortunately they had the prices to match. There’s also a smallish Adidas store, good for a couple regional tees.

Nike Beijing

Nike iD


Devil Nut
On the southern end of Wang Fu Jing you’ll find another shopping mall – Haoyou World and a bunch of eating places, most notably the famous Wang Fu Jing snack street, great for a plethora of variety but you will have to haggle for your dinner if you want it at a reasonable price or you could take the easy route and go with Yoshinoya.
There are also a small scattering of boutique street wear stores in the surrounding blocks like this Eternal store stocking Nike SB and other skate related brands and products but as with many of these shops, they come and go so be sure to do your research before hand and potentially save yourself a hike.

Eternal

…where you can buy members of the Wu-Tang clan…
Hongqiao Market (Pearl Market)
If you’re out visiting the Temple of Heaven then this “market” is only a couple hundred meters north of the East Gate exit (just up from Tiantandongmen metro stop). The Pearl Market used to be THE place for knock off goods but after getting hammered by the license holders and having building management crack down… its still pretty much the place for knock off goods!
Even though the name suggests its only pearls and jewellery, these are mostly secluded to the top 2 floors, but a bargain (on the real deal) can still be had if you know what you’re looking at/for.
The lower three floors are made up of side by side market stall set up. Most with glass display counters so its more like a department store than a flea market.
Level 1 – Mostly electronics – cameras, mp3 players, storage media, watches, audio/visual. Beats Audio headphones for $40AU? No thanks, even with the pleas from the sales person as “real deal, good buy”. While there were quite a few stores selling DSLR equipment I was still skeptical to the quality as there was just no way of telling if they were warranty repairs or QC failed grade. There were also some silk items and underwear stores mixed randomly between the other stores.
Level 2 – Clothing, shoes, handbags, travel goods – this is where things get tough. Once upon a time I think alot of broke kids much like myself would’ve just been happy to have the brand logo, if it had the same cut/style/distinct features that was a bonus, but I guess as you get older (and have more disposable income) you get choosier and you also buy products for their technology/features/build quality. So the dilemma quickly becomes apparent, that North Face jacket says it has Goretex, looks and feels like it, even has the tags but do I really want to find out in the middle of a downpour far from cover that it isnt waterproof? The sneakers however were a lot easier thanks to my trained eye and a bit of common sense. Jordan 1’s in unreleased colourways or limited edition from 5 years prior just sitting on a shelf at a market? You’re definitely right to be skeptical. Where things get difficult is with current run of the mill models. Being in the country that makes the genuine article means there are plenty of variants, which can even be authentic stock that followed a factory worker home or the more common “fell off the back of the truck” items. Where the seams start to come apart (pun!) are those that have the same equipment but cut corners with materials and quality control. So keep your wits about you, if its too good to be true then it usually is.
Level 3 – Traditional Chinese art, ornaments, vases etc. – Worthy stop for some souvenirs, just remember two things – 1. take note of the materials used in the items, remember AU customs isn’t going to look too kindly on that living bonsai pondscape complete with exotic goldfish (and if you do find something you think will be passable eg. Wooden vase, save yourself embarrassment and a possible fine, declare it) and 2. haggle haggle haggle.
Finally outside there’s good ol’ reliable Yoshinoya and to the right and behind is the Hong Qiao toy market, which I only found out about recently, how I missed this in my research I have no idea! Can someone go check it out or those that have been, tell me its crap so I don’t feel so bad? 😉
Photo tip – like alot of places that sell “unofficial” (re: fake) goods, the shop owners can be rather “private” (re: paranoid that you’re collecting evidence). I managed to get a short video (on a point n shoot) walking down one of the aisles before I was repeatedly beaten… with a rolled up brouchure. Admittedly moo-ing like a cow then asking about “copy watch” didn’t help my case so it’s best to keep photos to a minimum or feel the same wrath.
Hutongs
One of the other bonuses of staying at the Courtyard 7 was being pretty much in the middle of a lane of boutique stores and restaurants on S Luogu Alley, which you could easily liken to places like Bulimba or West End in Brisbane. Many stores stocked a random assortment of quality knick knacks, unusual souvenirs and designer kitch, a far cry from the generic over rehashing of comparative market stalls.

S Luogu Alley

Plastered 8


Vintage wind up toys
Places like Plastered 8 stocked designer tee’s, most with an Asian theme while “Vintage wind up toys” was exactly that, old metal wind up toys. Most were replicas but there were also some older antique items amongst general toys and oddball items. Hipsters will go nuts with Lomo camera gear offerings and of course you can’t leave China without some kind of panda paraphernalia.


Love Cupcakes
Tea houses, small bars and even gourmet cupcake stores follow the lane up to Gulou E St which becomes Jiaodaokou E St. (a major arterial road which leads to the nearest metro stop, Beixinqiao). Along here you’ll find the regular western fast food places with a few clothing and toy boutique stores, many with no names like this toy store, which was packed to the ceiling with figures and model kits while another sold giant plush poos. Good luck or not one managed to follow us home 😉 and with that, comes the conclusion of our 2011 round the world stint. A little slow in the recap but we got there in the end!

Coming soon, we’ll be reliving this year’s getaway from the land of Jurassic Park, 50 First Dates, pineapples, coconuts and shave ice (no “d” 😉 )… HAWAII!

Beijing 2011 part #1 – Arrival + Temple of Heaven, Forbidden City
Beijing 2011 part #2 – The Great Wall – Mutianyu
Beijing 2011 part #3 – Beijing Zoo
Beijing photo gallery here
Beijing Zoo photo gallery here

Unlucky.
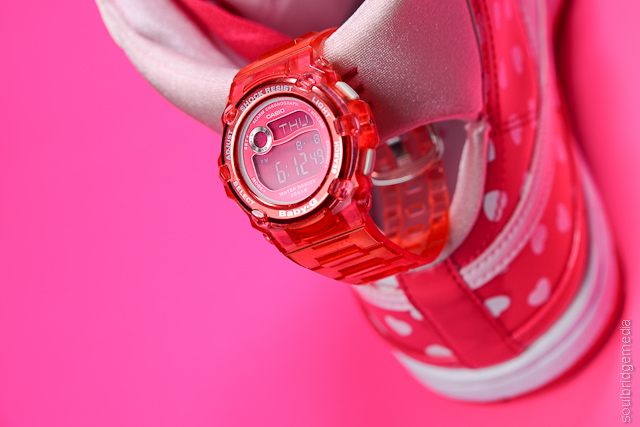
Fictitious “Tingly” campaign for a gift to my special little lady (:
