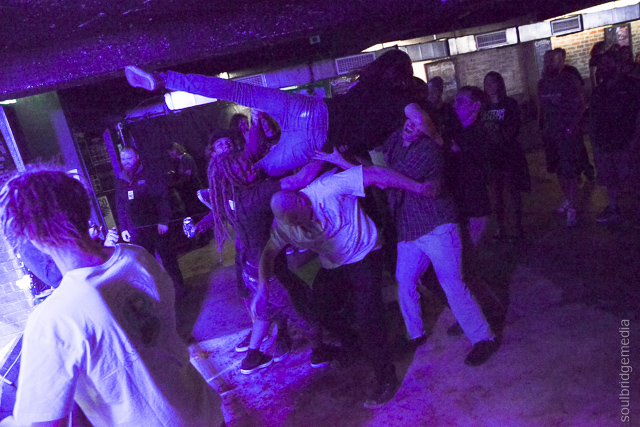
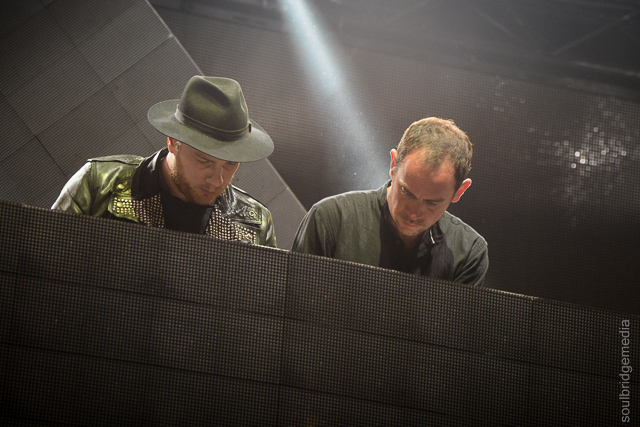
Candee Flip @ Amped 19/9/15
Another great night of classic tunage all on vinyl from the Candee Flip gang!
Highlights beloooowww!


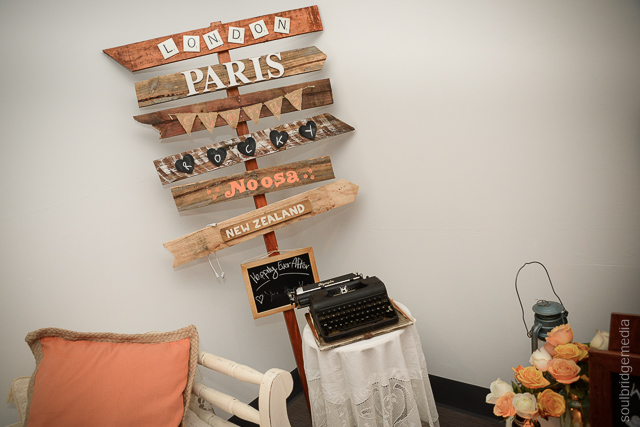
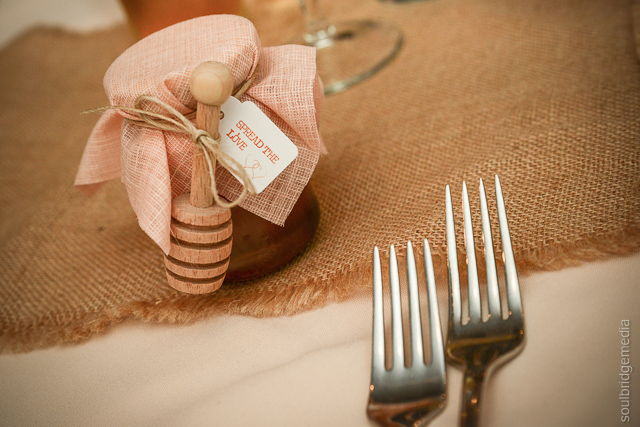
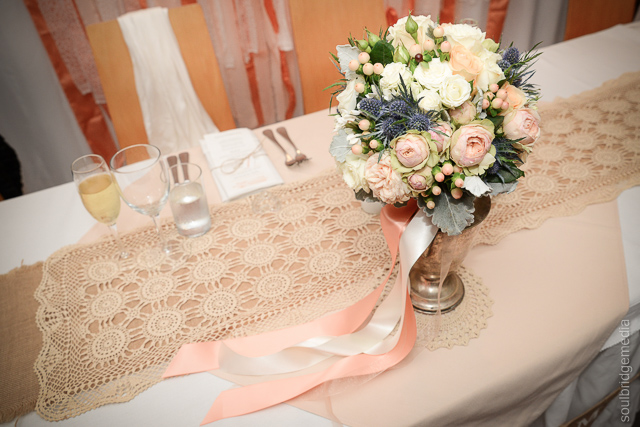
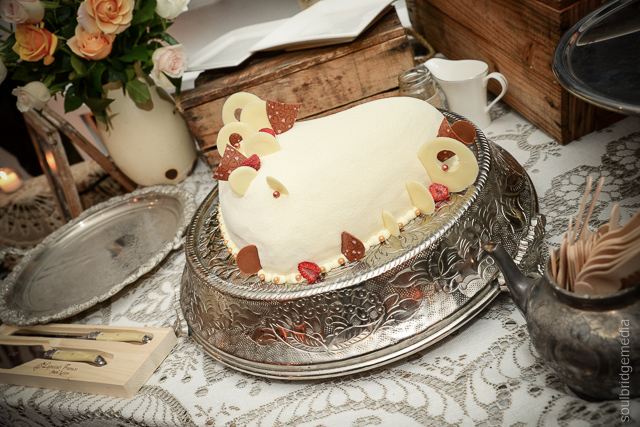
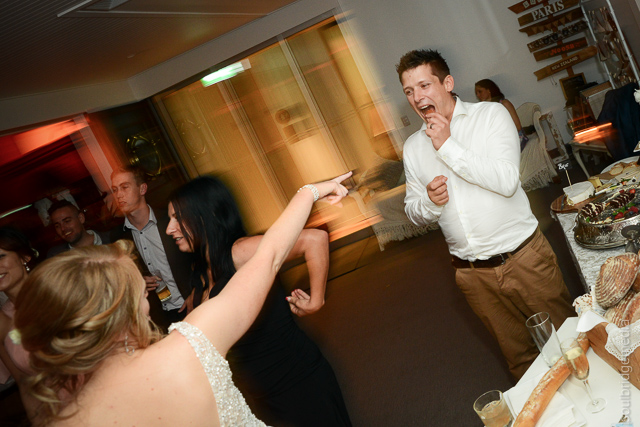
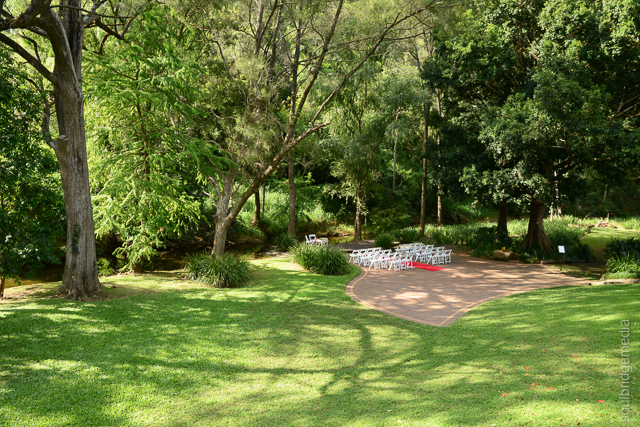
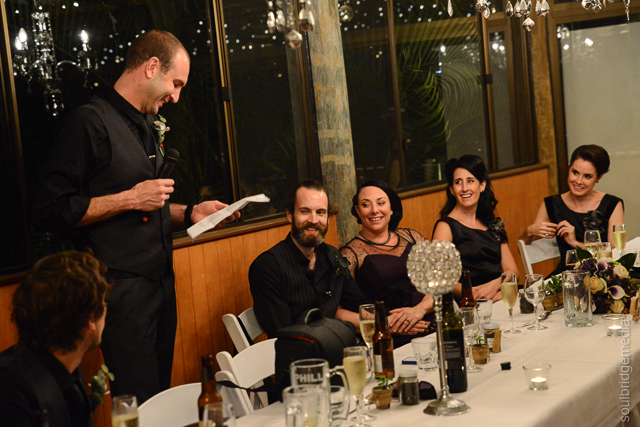
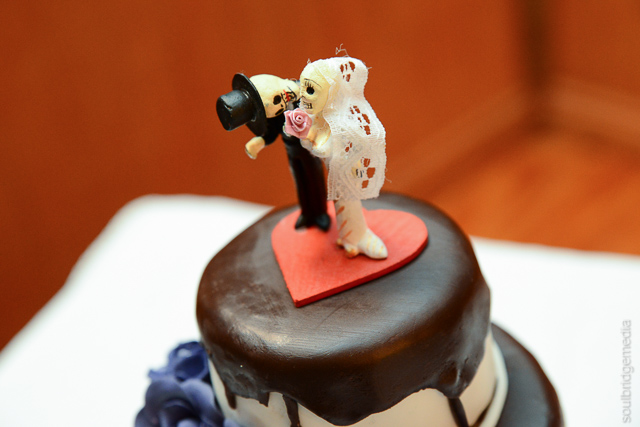
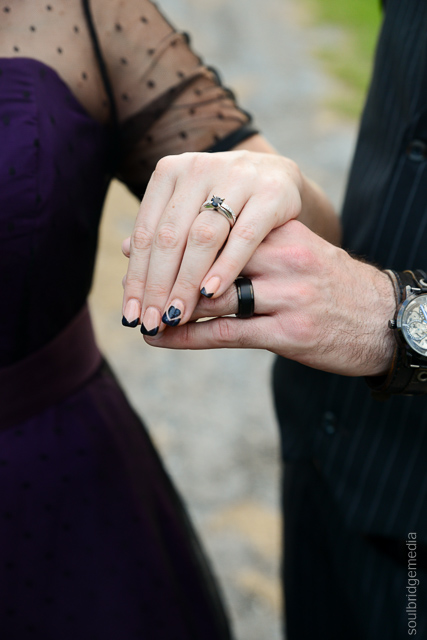
Last month we were privileged to shoot long time friend Rani and her British mail order husband 😉 on their special day. While the location on the Noosa river was a lovely choice, little of it could be used with the “good luck” rain being unrelenting for most of the day and night (and the whole week leading up to the day!). We literally had just enough time to grab a couple group shots before it was a mad scurry back inside to the function room but that had no effect on the beaming smiles and laughter shared by all… and the food, oh boy the food. There are positives and negatives when you have a couple foodies tying the knot!
A couple that cuts the cheese together will be pleased together… or something. Congrats to the couple on the start of their new life (officially) together (:
(and thanks to Rani for sparing me our traditional crash tackle greeting! Haha -T)

—


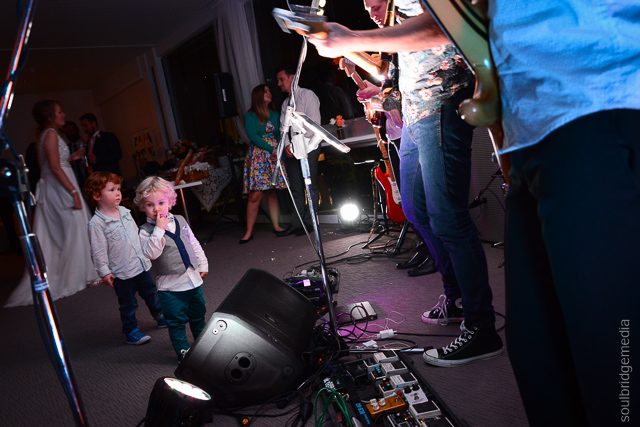


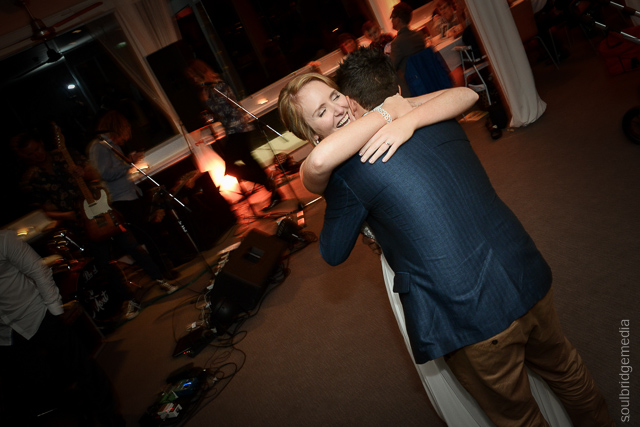


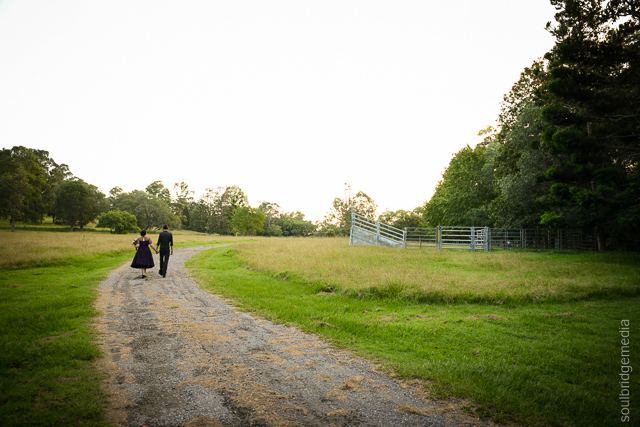
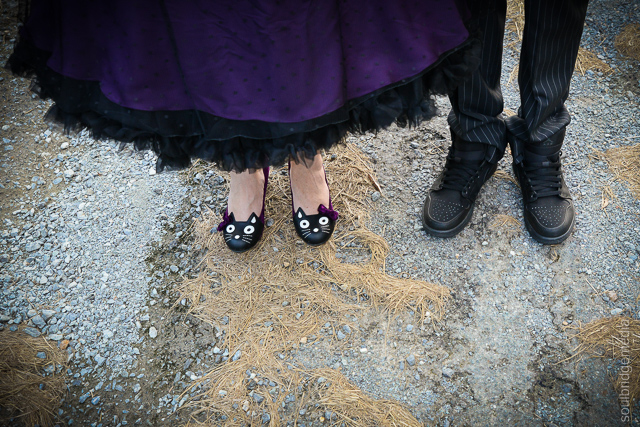
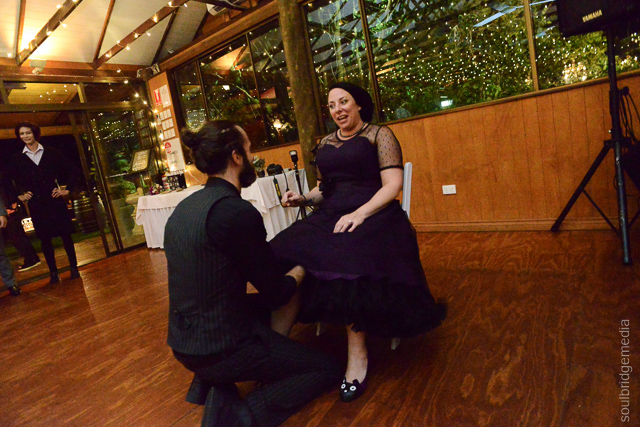
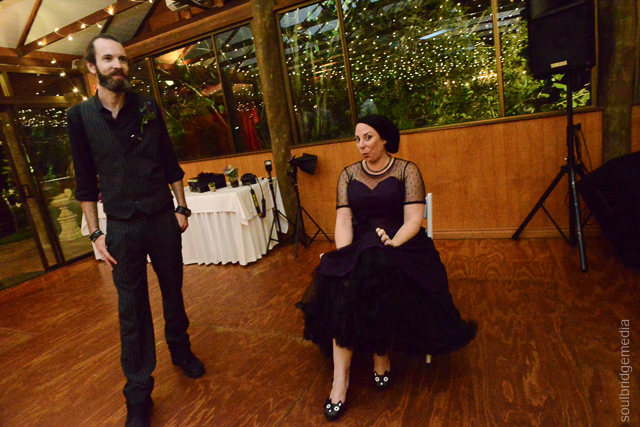
Two of our good friends, essentially “The cat” and “The bat” on the day, were married long before James popped the question. This day was more of a formality to make it official as they are pretty much two peas in a pod with excellent taste in cars and footwear 😉
Congrats to the couple and all the best for their honeymoon trip to Japan later in the year!
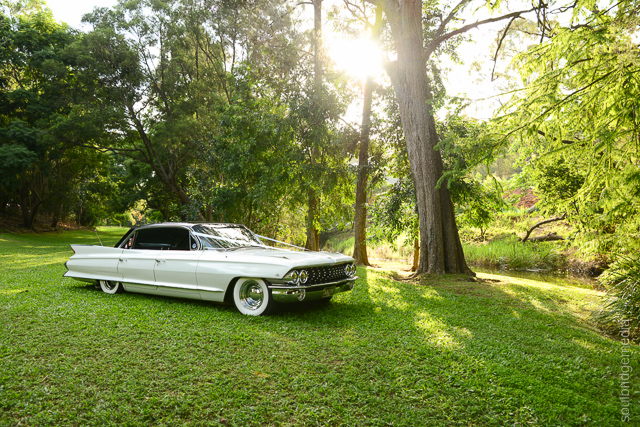
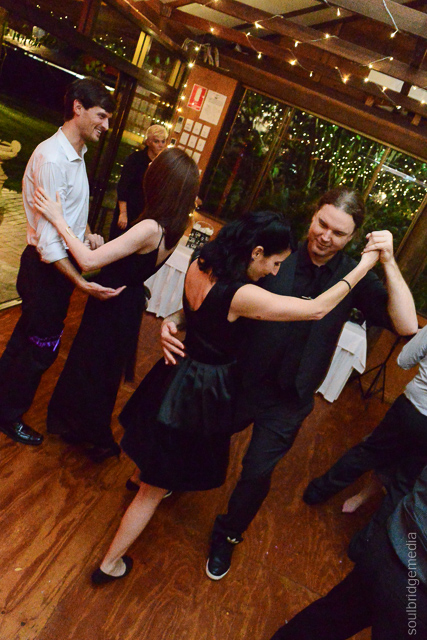
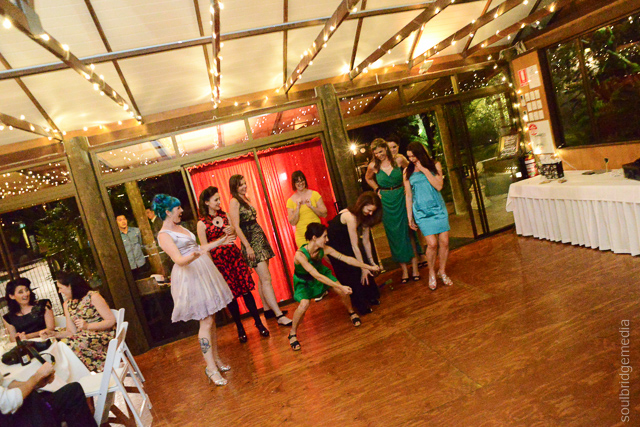
Venue: Bundaleer Rainforest Gardens
Here are a bunch of our faves from the day…


G-Shock cleaning basics
Not so long ago we did a write up for the G-Street gang with a run down of basic cleaning, like any publication they did their own edit so in case you missed it, here’s the “directors cut” in its entirety.
G Shock Cleaning part 1 – Basic cleaning
There are 3 basic schools of thought when it comes to how G’s are treated. 1. Keep ‘em clean 2. Treat ‘em mean 3. Stay fly and multiply.
For team number 2, G’s are bought and worn for their intended life purpose, to be beaten like a rented mule. Dirt, grime and battle scars are worn proudly like the ears of their slain on a necklace, Universal Solider style… much to the dismay of others who have to handle the watch with tongs if its left on a bench.
Those in the number 3 camp, and lets face it, its who we are or at least are aspiring to, have enough G’s in our collections to disperse a week’s worth of dirt over 7 watches (or more) so it can take a lot longer for them to accumulate the same amount of wear, but it will happen eventually. So for the benefit of longevity, comfort of wear and housemates/GF’s/wives everywhere a bit of regular cleaning goes a long way.
>>These tips are by no means the be all and end all, these are what have worked for me over the years, however with the variety of models, textures and finishes, your mileage may vary.
Why clean?
Dirt and grime attracts more dirt and grime and over time the salts and acidity from sweat can deteriorate the resin and affect the finish. Sweat and water can also collect in these areas, which if near small metal parts like screws, pins or pin springs, can rust or seize them. Comfort is the other main reason, coarse particles or other residue can lead to skin irritations. While much rarer, some functionality can also be lost like the ease of pressing buttons or the ability to charge a solar model.
Know thy enemy – Common culprits:
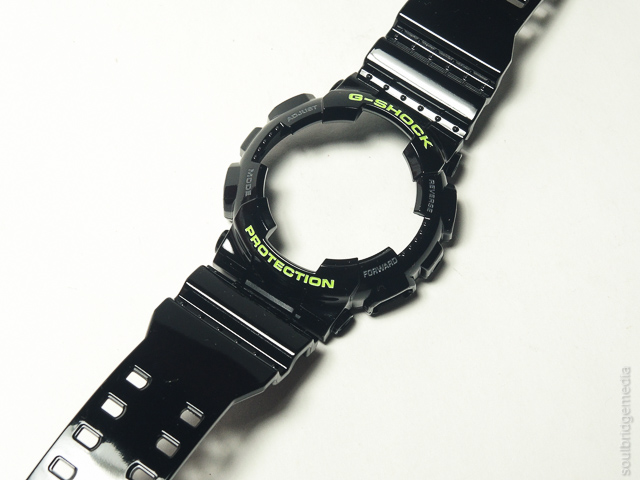
A1. Scuffs and markings – Shows as darker or shinier mark, common when bumped on hard surfaces or grazed during regular wear. Appears mostly on corners and edges of non-glossy resin.
A2. Dirt and grime – usually a combination of dust or dirt with sweat oils and water to get a lovely toe jam paste which forms around pins, casebacks, buckles, raise or embossed sections, where the band meets the case on the underside etc. Grime can also appear as a discoloured coating with an uneven texture. (see fig 1a, 1b)
A3. Salt/sweat/chlorine residue – shows up on darker coloured resin as crusty white marks, a bit like a high tide line, you’ve probably seen the same marks on the brim or front of your regularly worn cap. Just like the high tide line, these marks appear where it -was-, not where it –is- so its not uncommon to see them on the top surface of the band and lug area where the band meets the bezel. Can also collect in embossed areas and buckle holes (see fig 2 and 3)
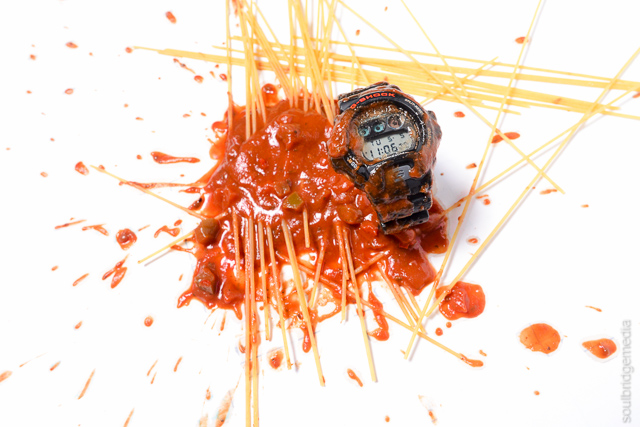
A4. Paint – paint splatter from work or an out of control custom or taking on a wall or door jamb with the G emerging victorious, taking a souvenir with it.
A5. Welding splatter – ok maybe not so common but a special note for those welders out there frivolously melting resin left and right… just go with stainless steel and spare me the heart ache. Please.
(This one goes out to Ben who’s done himself a right mischief, get well soon buddy!)
Actung Baby – Warning
If your resin still looks new, then don’t go gung ho and try to clean it for no good reason. Use passive methods only, running water, light sponging etc. anything abrasive can and will mark the resin, this includes tissues and cotton tips if the right kind of pressure is applied, it may be very light and only visible on certain angles but spare the elbow grease for your beaters. Persist with the least abrasive methods ie. Soap, sponge, warm water, where ever possible.
Clean up your act (for matte resin)
1. Rub one out – Erasers (for A1 above) – This, at best, is a temporary fix with only a medium success rate depending on the scuff but its always worth a try since its simple and non-damaging. Take a regular pencil eraser and rub it on the smoothed or marked spots. Far from a new to old restoration but it will dull some spots and bring back a bit of that out of the box velvety look. For tight spots use the small eraser on top of a Pacer. (see fig 4)
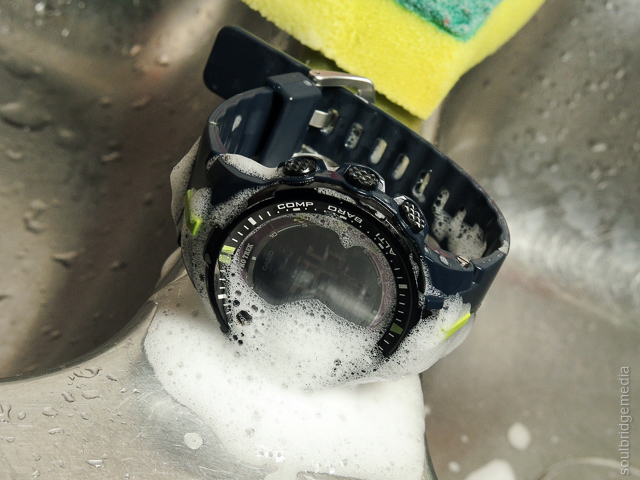
2. At the car wash – Soap, dish detergent (for A2, A3) – This is the quickest and easiest way most will say to keep your G clean. Multitask while in the shower or create a weekly/monthly bath time ritual. Use a soft sponge to lather and lightly scrub stubborn areas. Make sure you rinse and dry it well afterwards, soap/detergent build up isn’t much better than the grime itself. Use a cotton tip to get around edges and into crevices and buckle holes.
3. Mum’s the word (for A2, A3 above) – Mum’s know a thing or two about cleaning so its no surprise some of their go-to’s work as well.
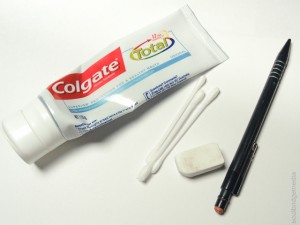
Toothpaste – has a fine abrasive which can help move some stubborn marks with the help of a fine toothbrush also leaves dank straps smelling minty fresh. You can also use it as a polish for restoring shagged crystals (glass on the case). I have not needed to do this yet but there are plenty of folks who champion it.
Vinegar – add a generous splash to a bowl of warm water and wipe/sponge over. Use a cotton tip dipped in it for detailed areas. Rinse thoroughly then give it a soap bath (as above).
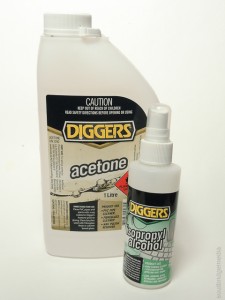
4. Chemical brothers – Isopro and Acetone (for A4 above) – Like taking off your shirt to eat, things are getting serious if you’re breaking out the solvents.
For stubborn salty marks or stains Isopropyl (or Isopro) can help. Its an alcohol based solvent commonly used to clean electronic equipment and whiteboards. You may have come across it in the form of Isocol (green bottle with an alligator). If you had zits at school or got a graze you probably dabbed a bit on it, which burnt like all buggery.
While mostly mild to resin it still has some corrosive properties and can take the finish or many surfaces if you get carried away, so start with a lightly damp (not wet) cotton tip on the underside of the band to test it.
Acetone – basically nail polish remover, will have no problem stripping most oil based paints and clear coats on resin. So take extra care! But if you’re reaching for this its most likely to remove paint, and if you’re painting you’d probably already know how to use it. If not, same as with the Isopro, use very sparingly with a barely damp cotton tip. If it is to remove paint splatter take as much care as possible to very lightly wipe the paint but not the resin. Let the acetone do the work, not the scrubbing action.
For thick dried splatters, try scratching it off with a fingernail or toothpick first, take care not to over to it and have your nail/toothpick skid off and mark the resin. If the paint is still wet, try dabbing it off instead of smearing it.
If however you’re stripping colour or the clear coat for a custom, then go to town with it, just don’t scrub too hard as marks will be left in the resin which will show up after the dye job.
You can also use this method to remove the clear glossy coat from jelly resin to leave a matte finish since the colour is in the resin, not the paint coat.
Some of the cleaning arsenal:
Dem Feels – Glossy and Textured resin
The above is ideally for plain matte resin. Anything with a gloss, satin, textured or printed finish, take extra care and caution. Personally I’d stick with soap and water where ever possible.
If you’re particularly concerned about trying to keep your new resin as pimping as possible, choosing a model with a glossy finish will help repel dirt and grime very well. The trade off however, once the clear coat gets worn down to the base coat it looks rather rubbish and without this protective coating, wear occurs much quicker down to the bare resin. Of course the other trade off is you’ll have to wear glossy resin which could be a tough pill to swallow for some.
Common sense and care
Use it. The above processes are all reasonably straight forward but if you’re in any doubt or get carried away, I nor G-Street can be accountable, but if you think about it, you’ll have a new beater and a reason to buy a new G so that’s not really that bad is it? 😉
Stay tuned for part 2 – Advanced cleaning and resin removal.
—
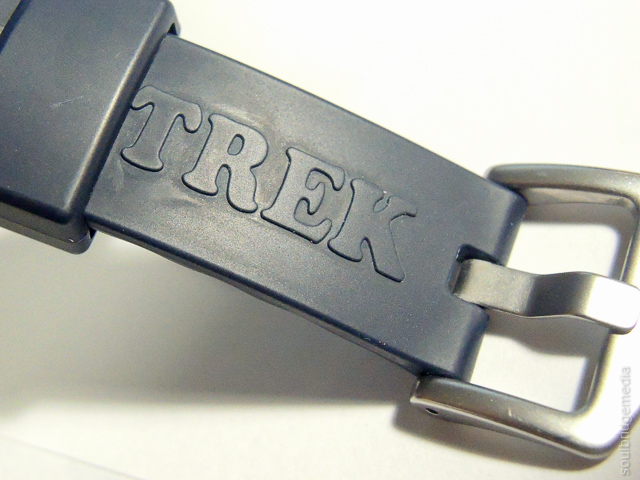
>>Special thanks to Troy for the loan of his PRG3000 Protrek (not that he had a choice since it was already in my possession 😉 ) for this article since I couldn’t find a G dirty enough!
—
Fig 1 (a). – Grime isn’t always very noticeable and is usually only visible under certain angles. Here you can see a broad coating around the “PR” and localised build up around the raised lettering especially around the “TR”.

Fig 1 (b). – Slightly different angle shows more of the coating
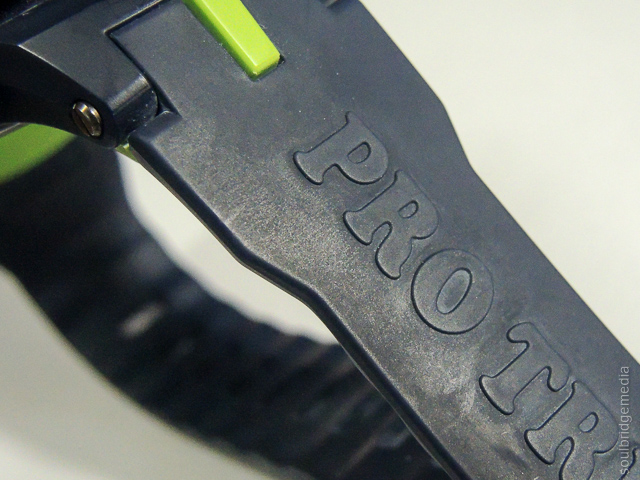
Fig 2. – Sweat salts and the like collecting in the embossed area on the band
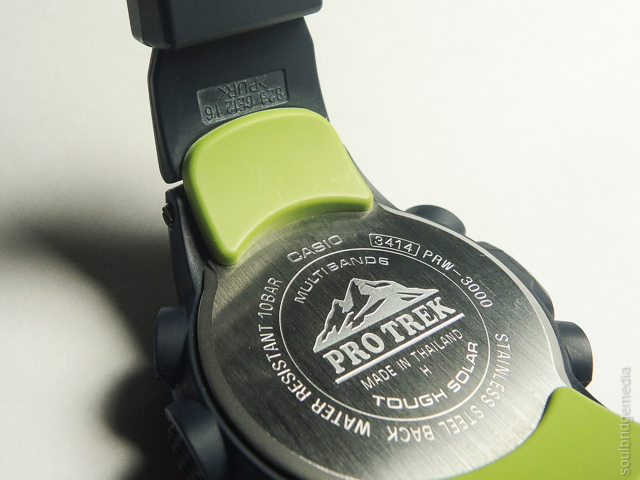
Fig 3. – Sweat salts and the like collecting in the buckle holes
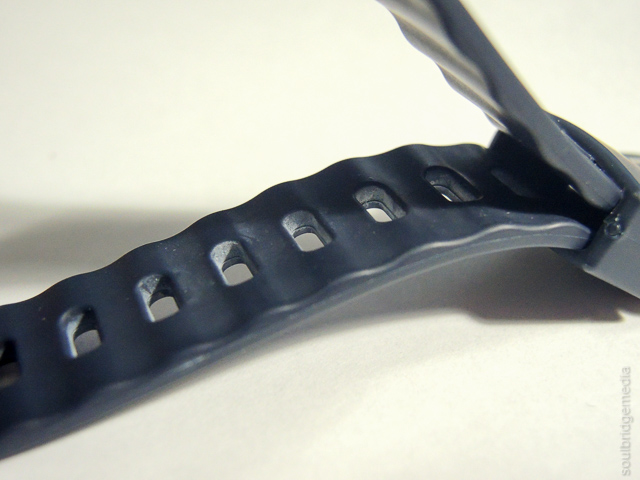
Fig. 4 – Normally for grime its better to use warm soapy water and a sponge but here is an example of the eraser technique, note the visible difference around the K.
If you have any questions about the processes in this article, want to talk about G’s in general or just geek out with some toy talk head on over to The G Collective – a closed group we have created with a couple buddies to do just that (:
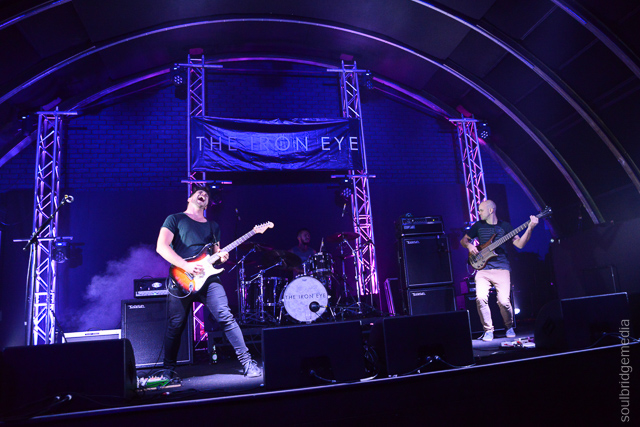
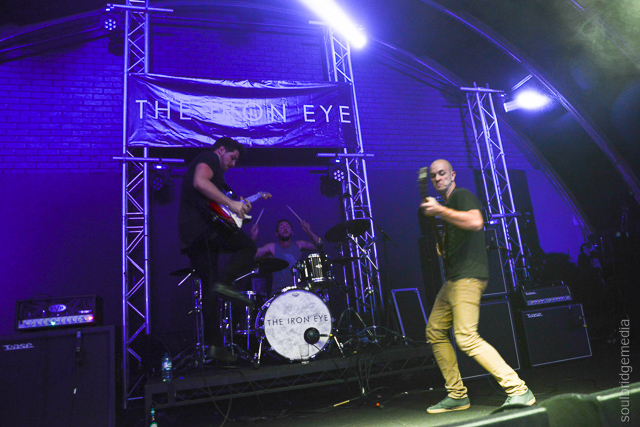
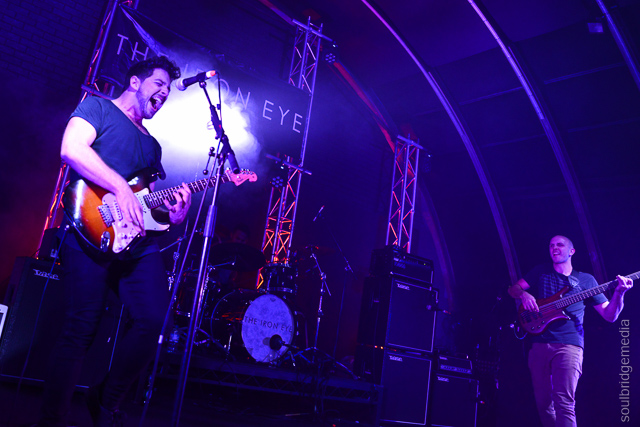
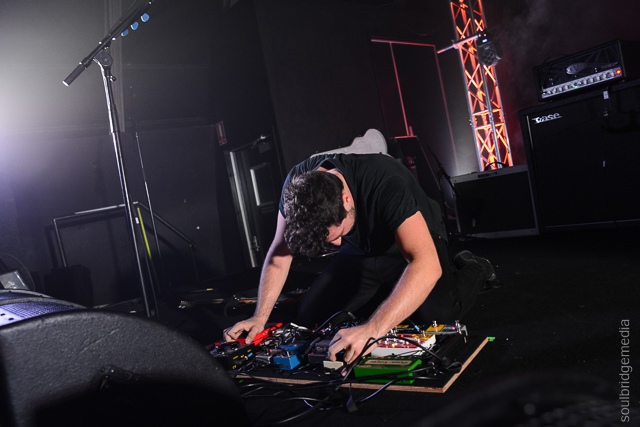
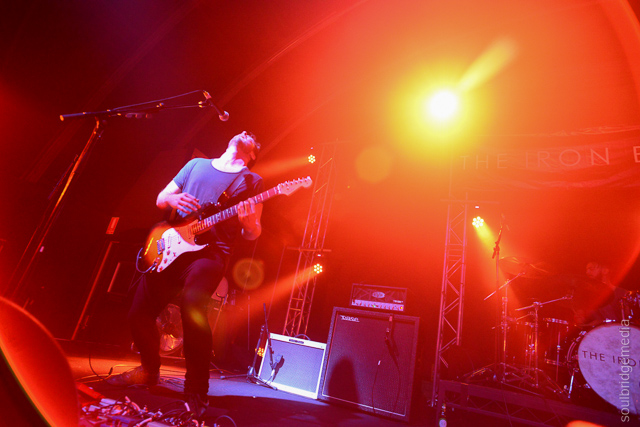
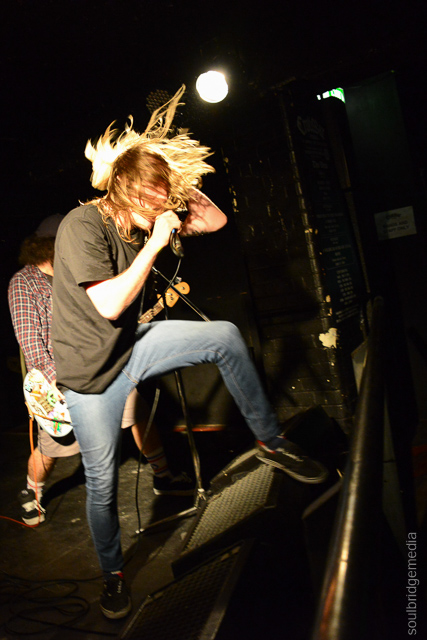
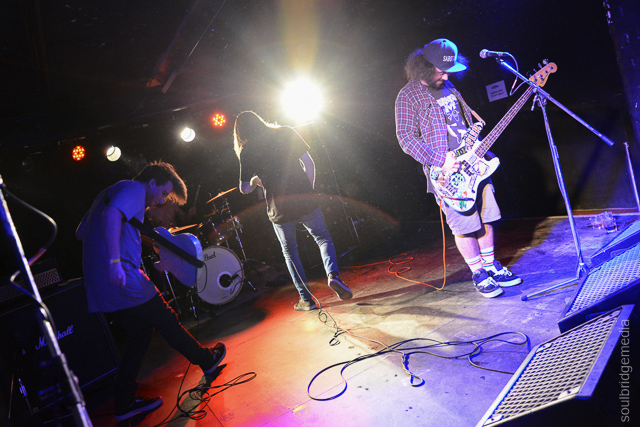
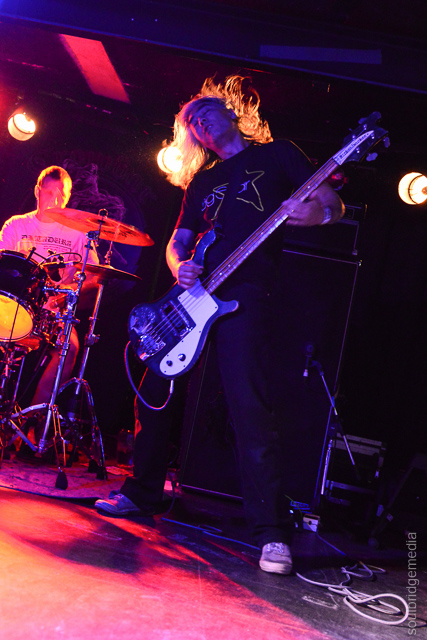
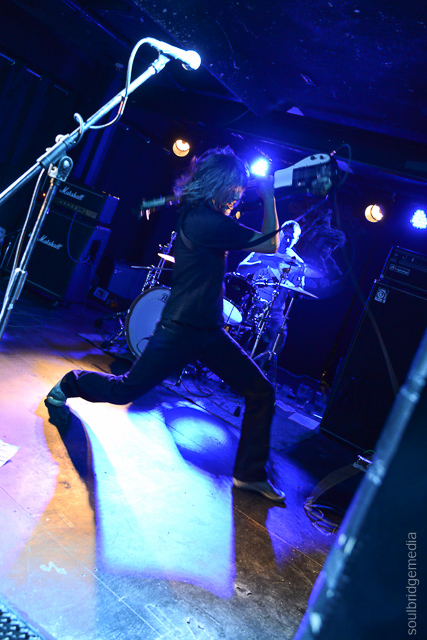
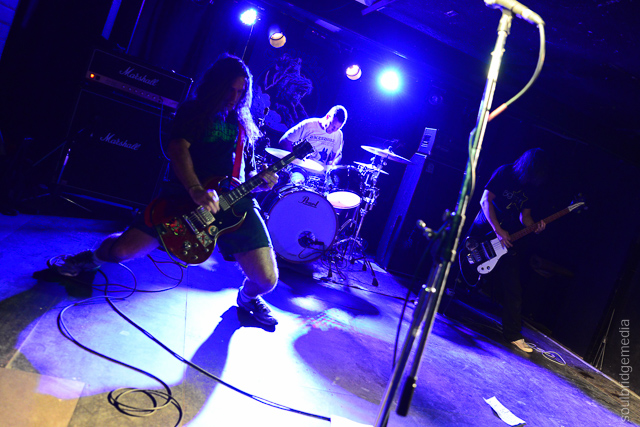
Your new favourite rock band, you just don’t know it yet.
Bumper highlight gallery below!


I don’t know about you guys but the last time I saw the Hard Ons was drunk off my proverbial in a Toowoomba pub in the 90’s and that was by pure accident! Fast forward quite a few years for me but a total of 30 years for them and they’re still kickin’, rockin’ and powerstancin’!
They paid tribute to the Anzacs in a less than tradition manner on the eve of Anzac day with that classy bunch, Goon on the Rocks in tow.
Photos for The Music magazine (Brisbane).
Check out the highlights gallery below…
Goon on the Rocks


—
Hard Ons


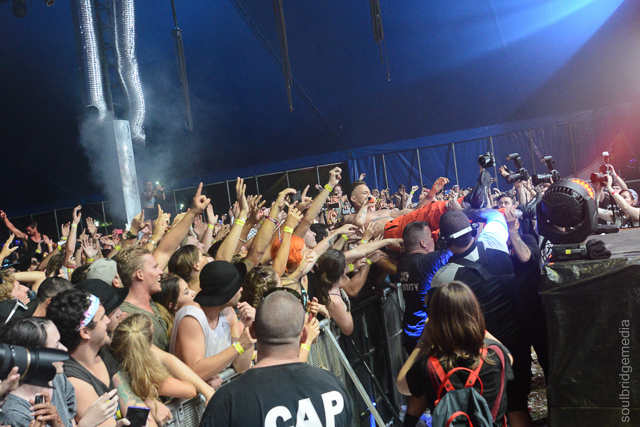
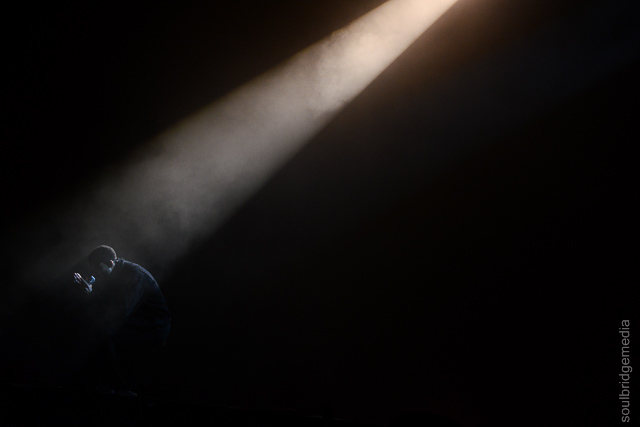
Veteran pioneers of grimey hiphop, Mobb Deep celebrate the 20th anniversary of iconic “The Infamous” by performing the album in its entirety at The Hifi on a lazy Sunday night.


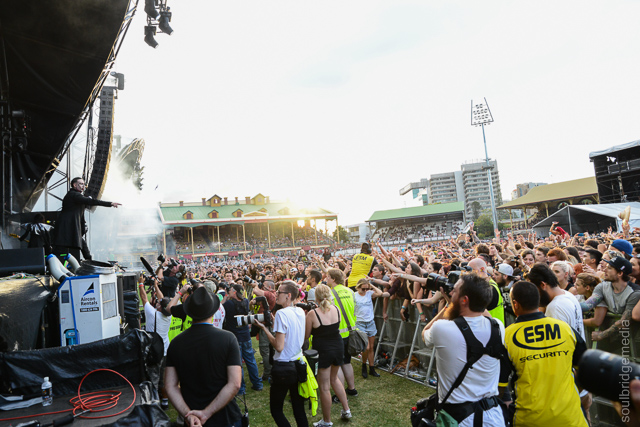
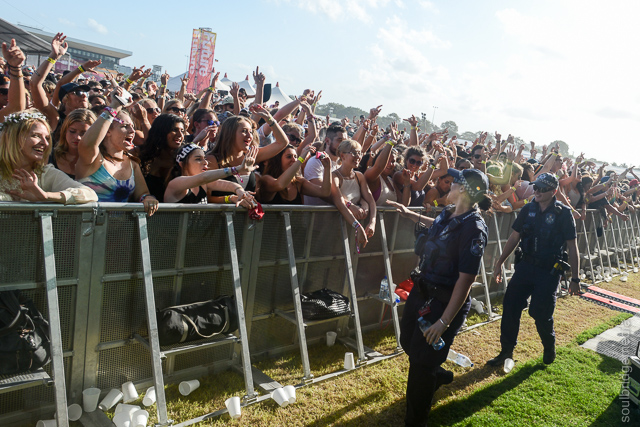
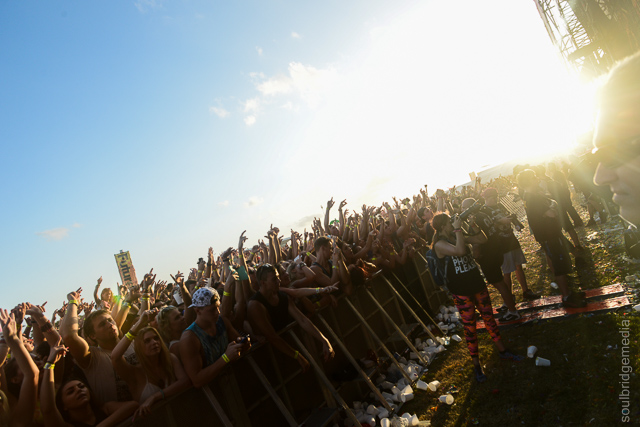
Future returned to its original home this year, while it was skeptical that would also be a return of the torrential rain and sloppy conditions of old it was the complete opposite with the festival gods smiling down with perfect weather. Production was upped with plenty of confetti and CO2 cannons, pyrotechnics and lighting along with an updated stage layout. All in all another epic day on the field.
Check out the bumper highlight gallery below!
Photos shot for The Music (Brisbane).


What’s better than a day at Soundwave Festival? TWO days at Soundwave Festival!
Longer sets, much easier to get from one stage to another and a better vibe all round, let the good times (rock and) roll! 😀
Some of our faves from day 2 below…
Photos shot for The Music (Brisbane).


You know the deal, some of the best rock and metal you can wrap your listening holes around. If you weren’t there you probably already know what you missed but if not, here’s some highlights to remind you.
Photos shot for The Music (Brisbane).